


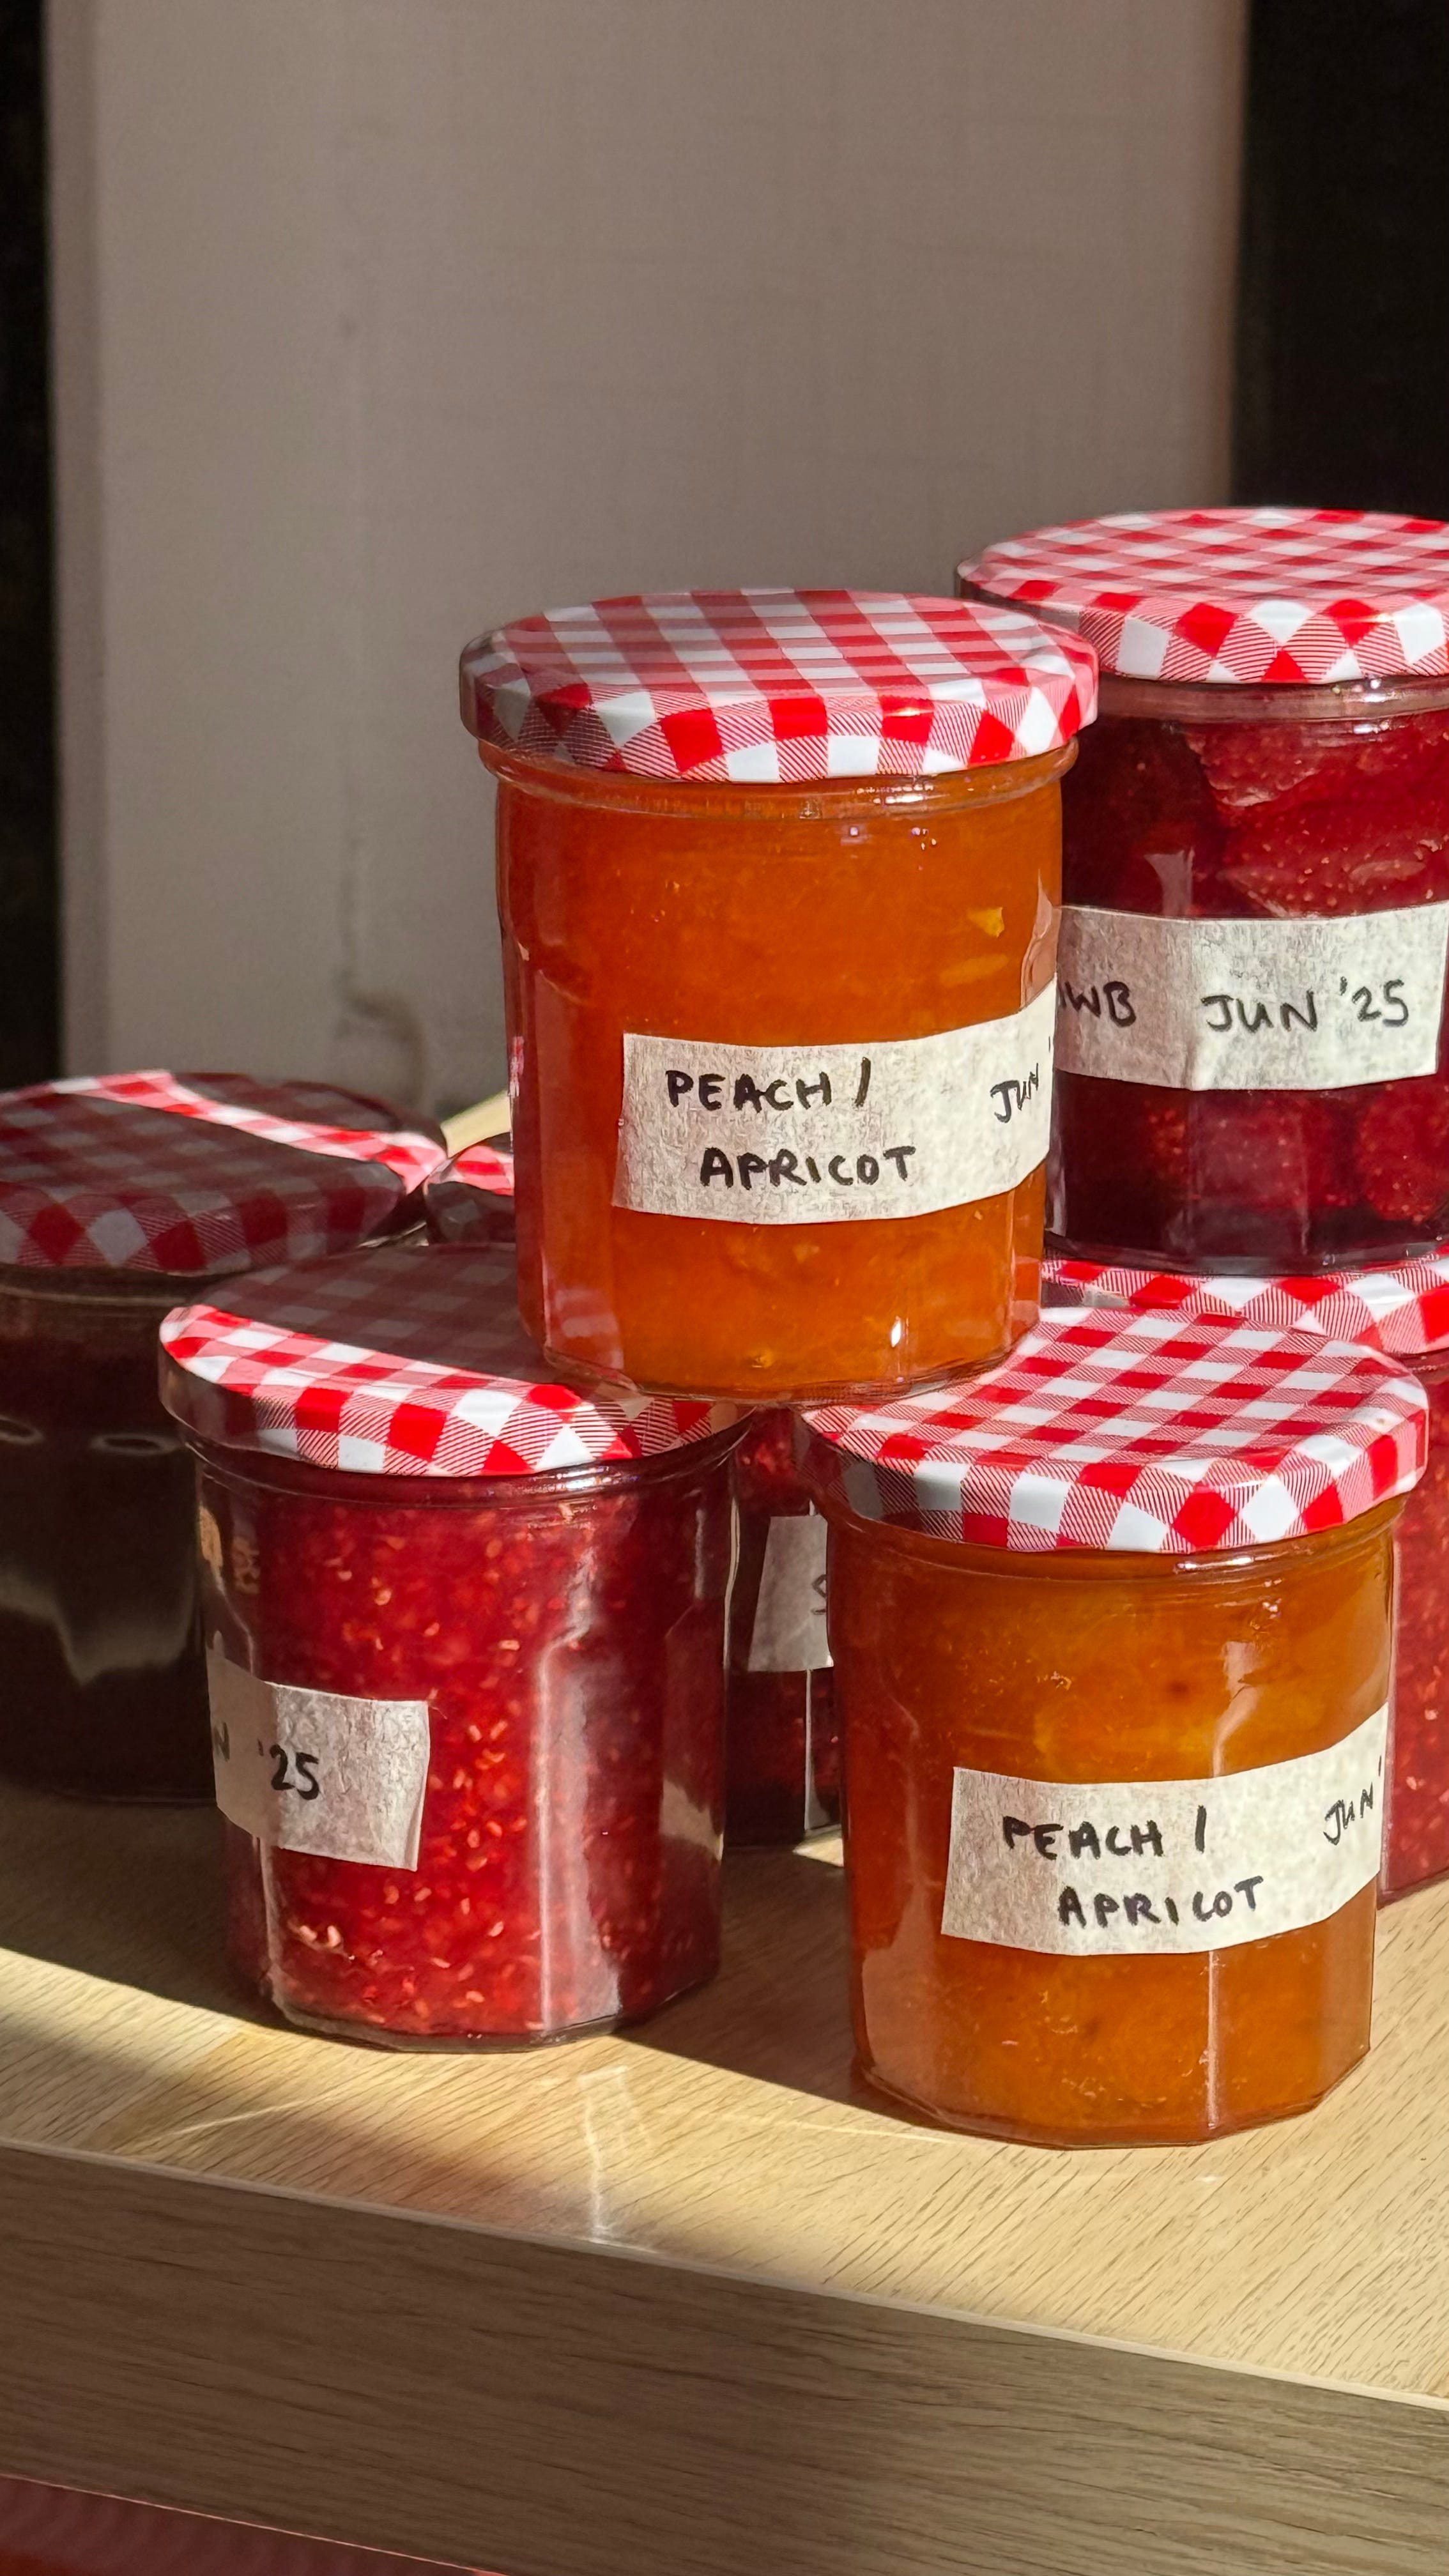
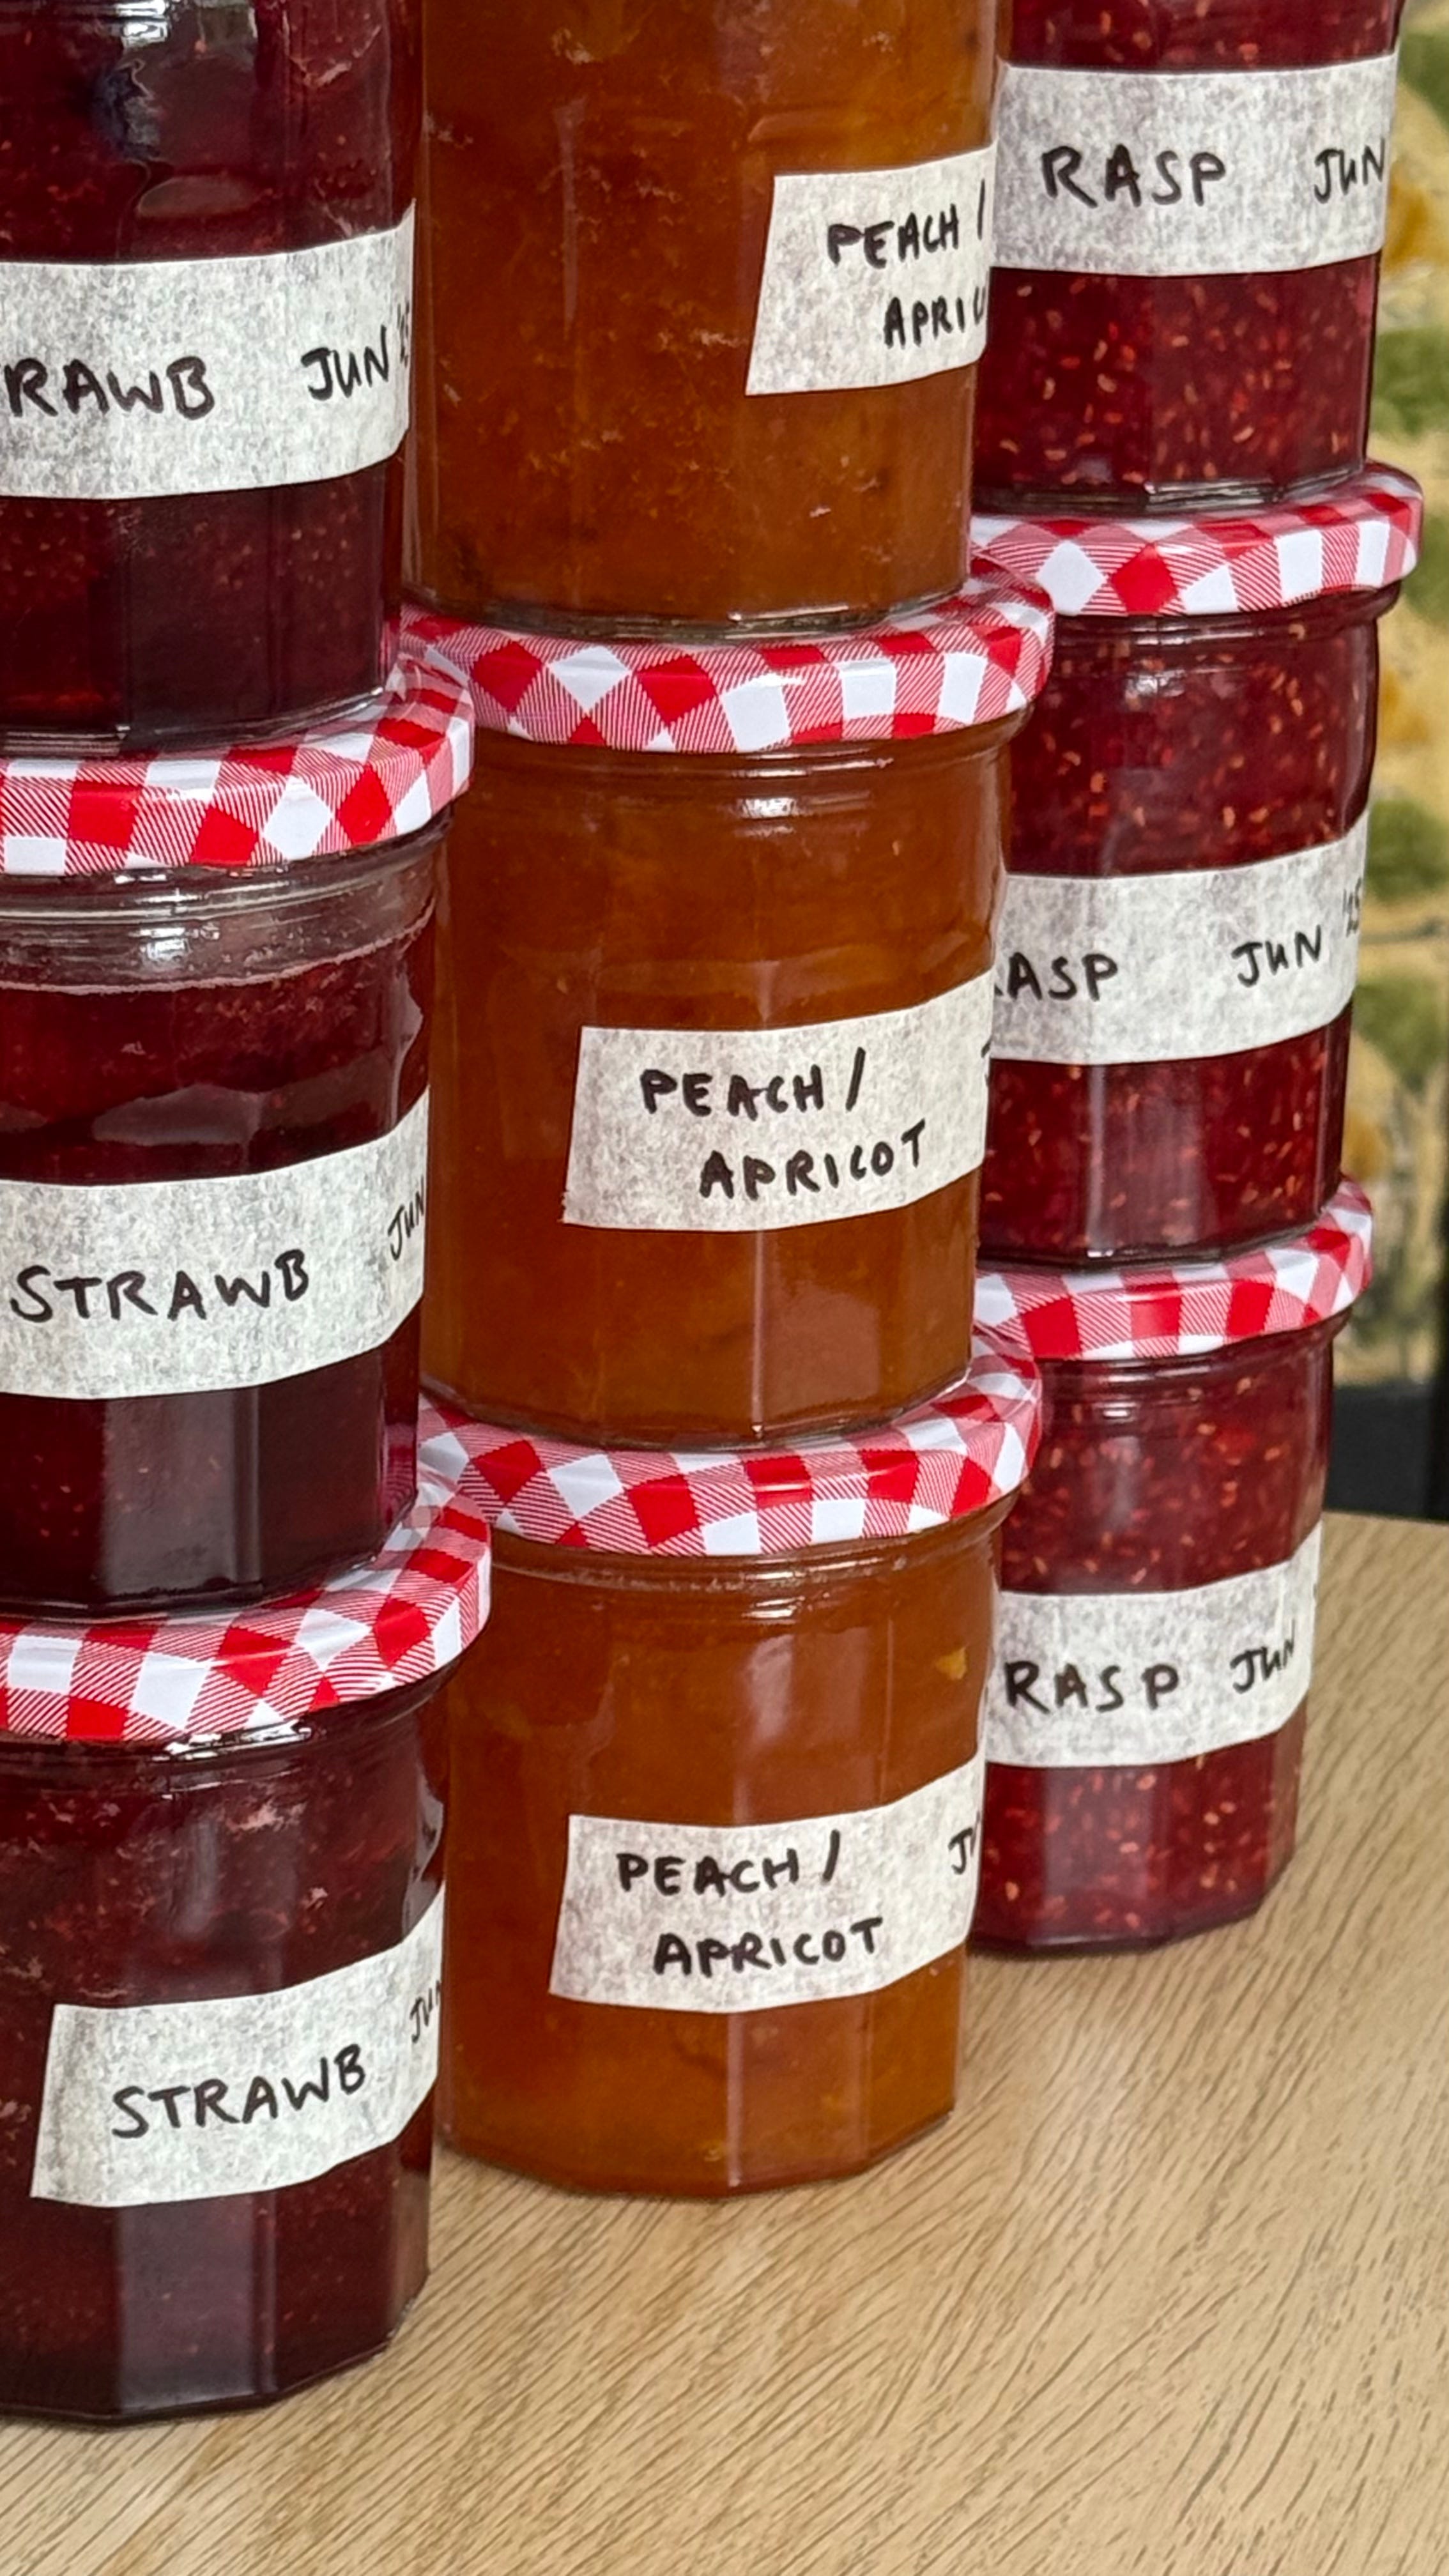
a jam-packed recipe guide
apricot and peach, strawberry, raspberry

What I’m reading: this Guardian article from the weekend - informative, but its main appeal is that it’s illustrated by my fave, Hannah Robinson
What I’m listening to: Caroline O’Donoghue discussing Shrek on Sentimental Garbage
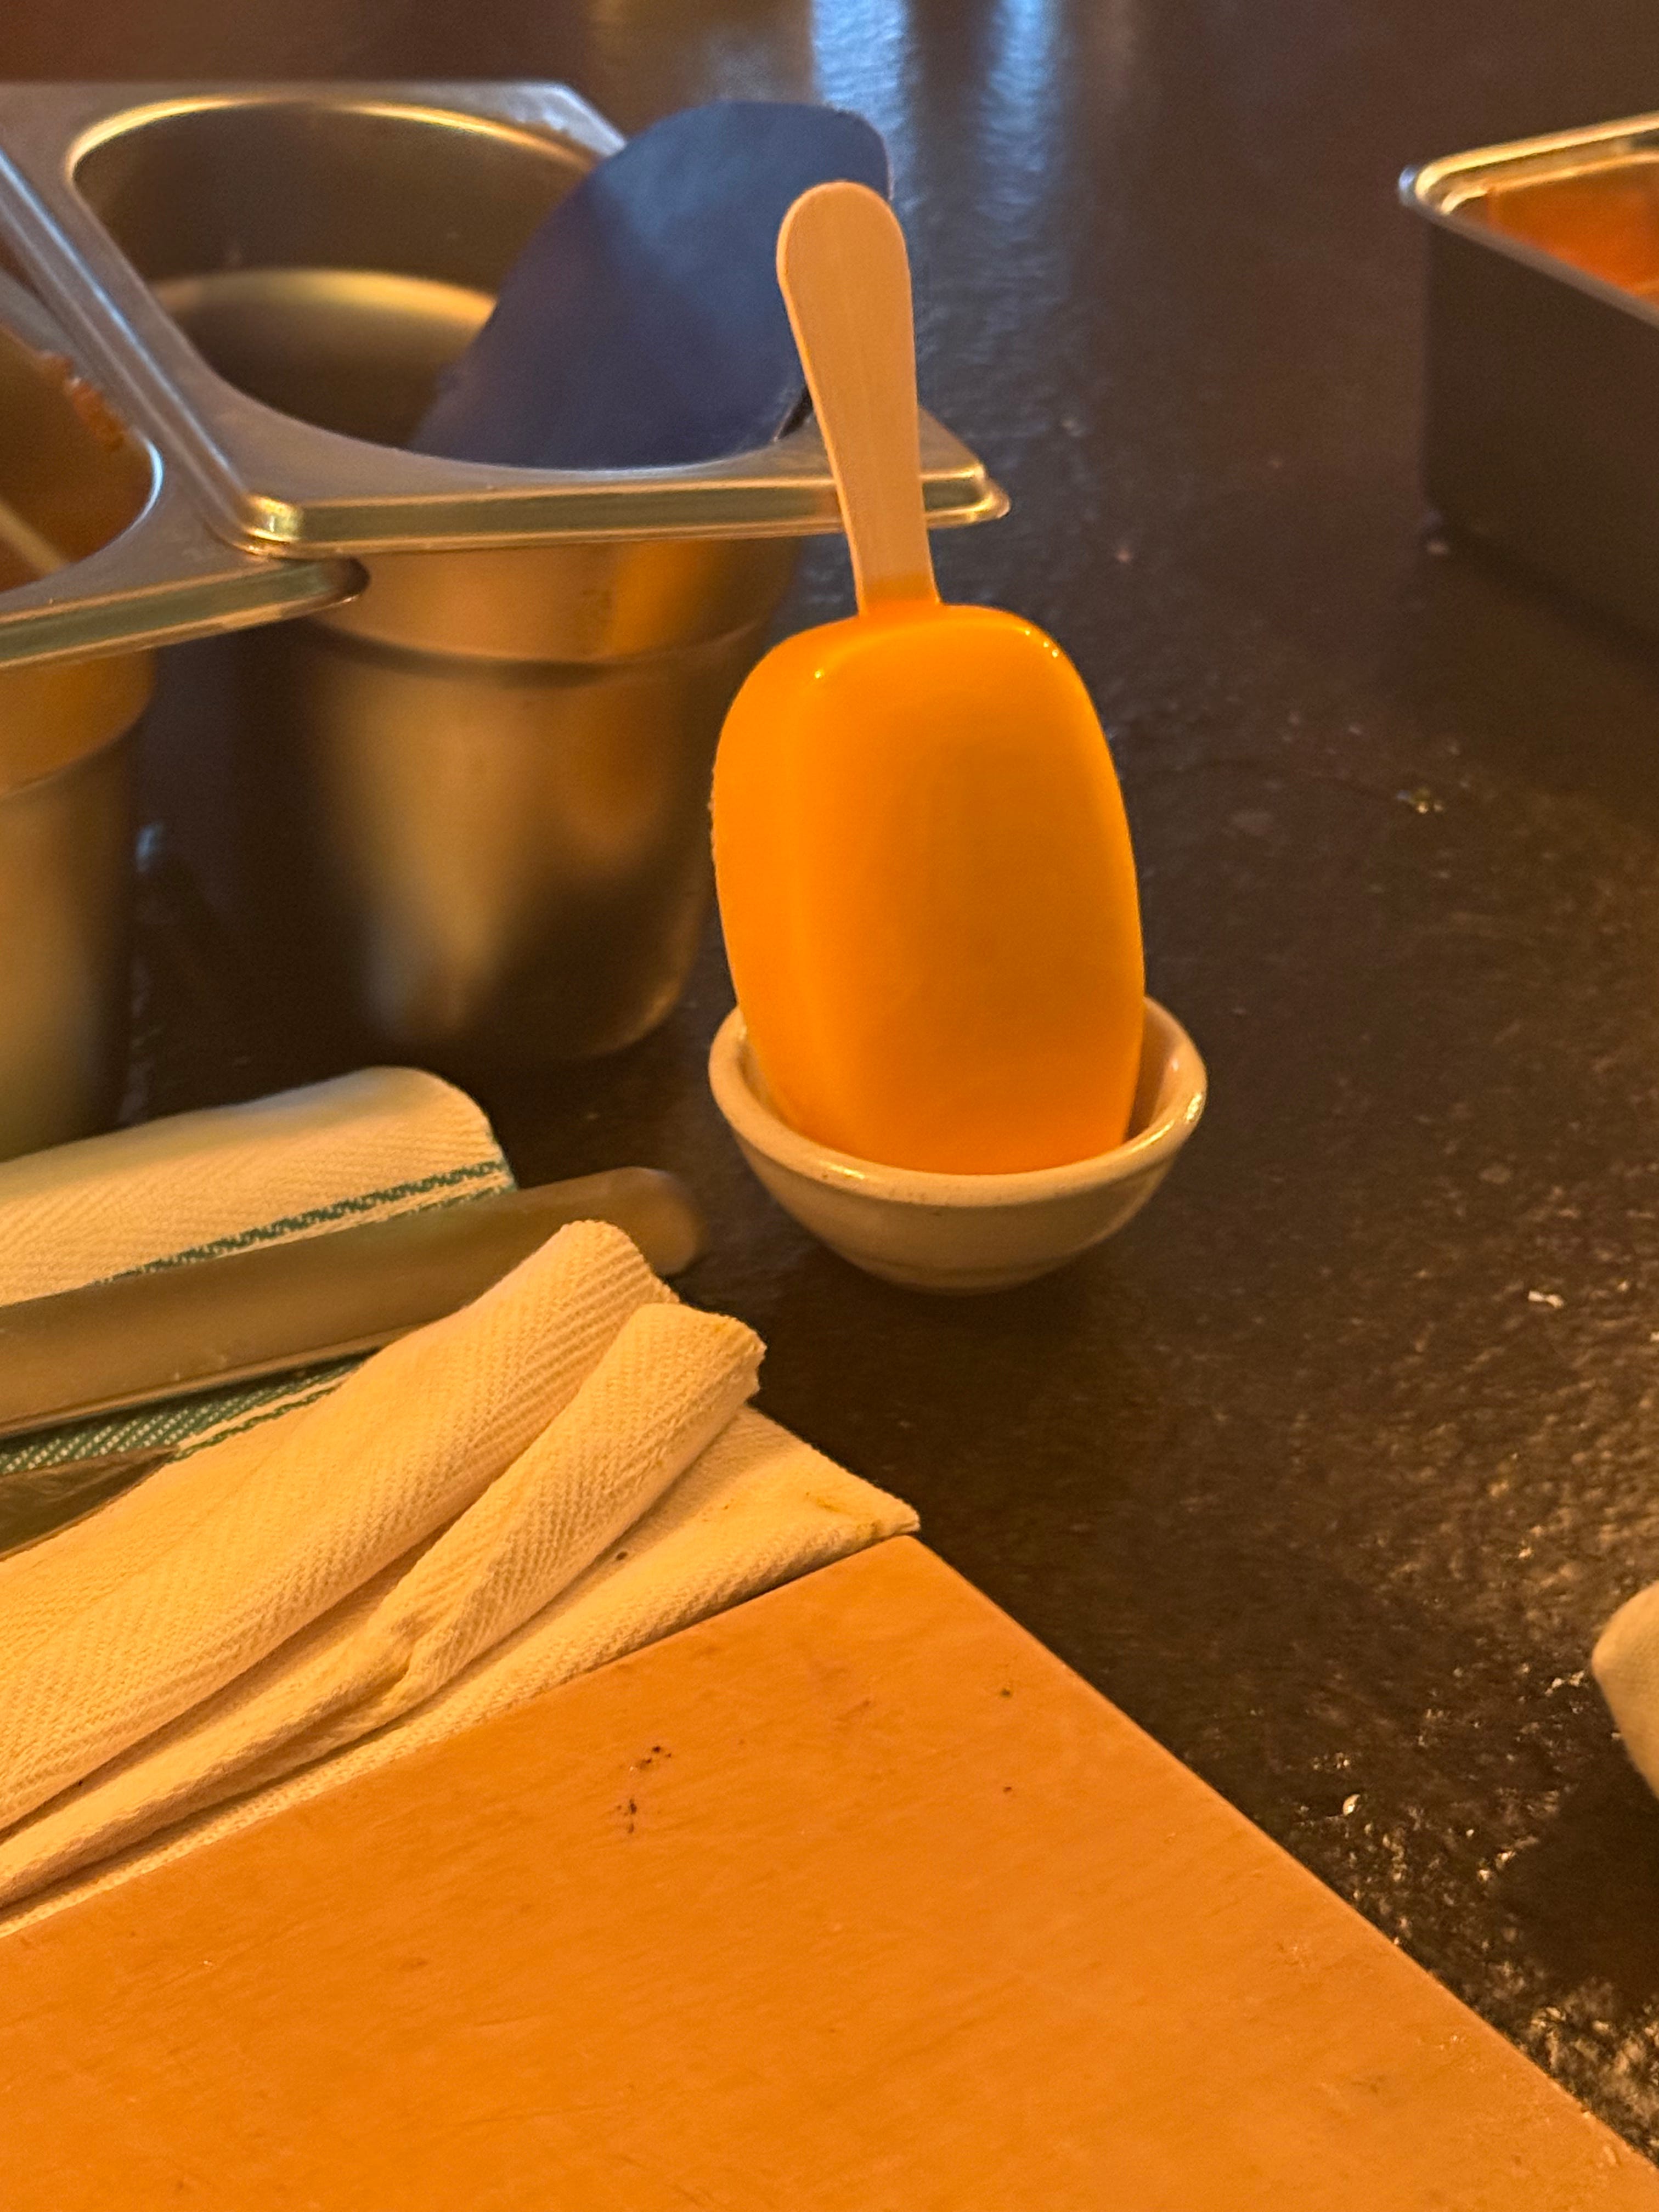
What I’m eating: honestly - a lot of ice-creams from the corner shop opposite work, which we’ve been popping out to at regular intervals to help us survive this heatwave
Last week, I celebrated moving into my new flat by having a big jam session - of the fruit preservation variety, not music. There’s a lot of fruit that’s at its best in the UK at the moment, and I think that jam is a great way to make the most of peak season. I’ve gone for a strawberry, raspberry and a peach and apricot, and the recipes below make approximately 3 jars each. The jam should last up to a year, if you sterilise the jars properly, and I think it’s quite a fun little gift for someone you love - so I recommend making a couple of batches so that you always have some to hand.
I think the best jam I ever had in my whole life was a nectarine jam made by Loz and Kelsie at Mor bakery in Auckland, where I worked last year. We used to have it on fresh croissants with butter and a pinch of Maldon every morning, and it brought inordinate amounts of joy to my day.

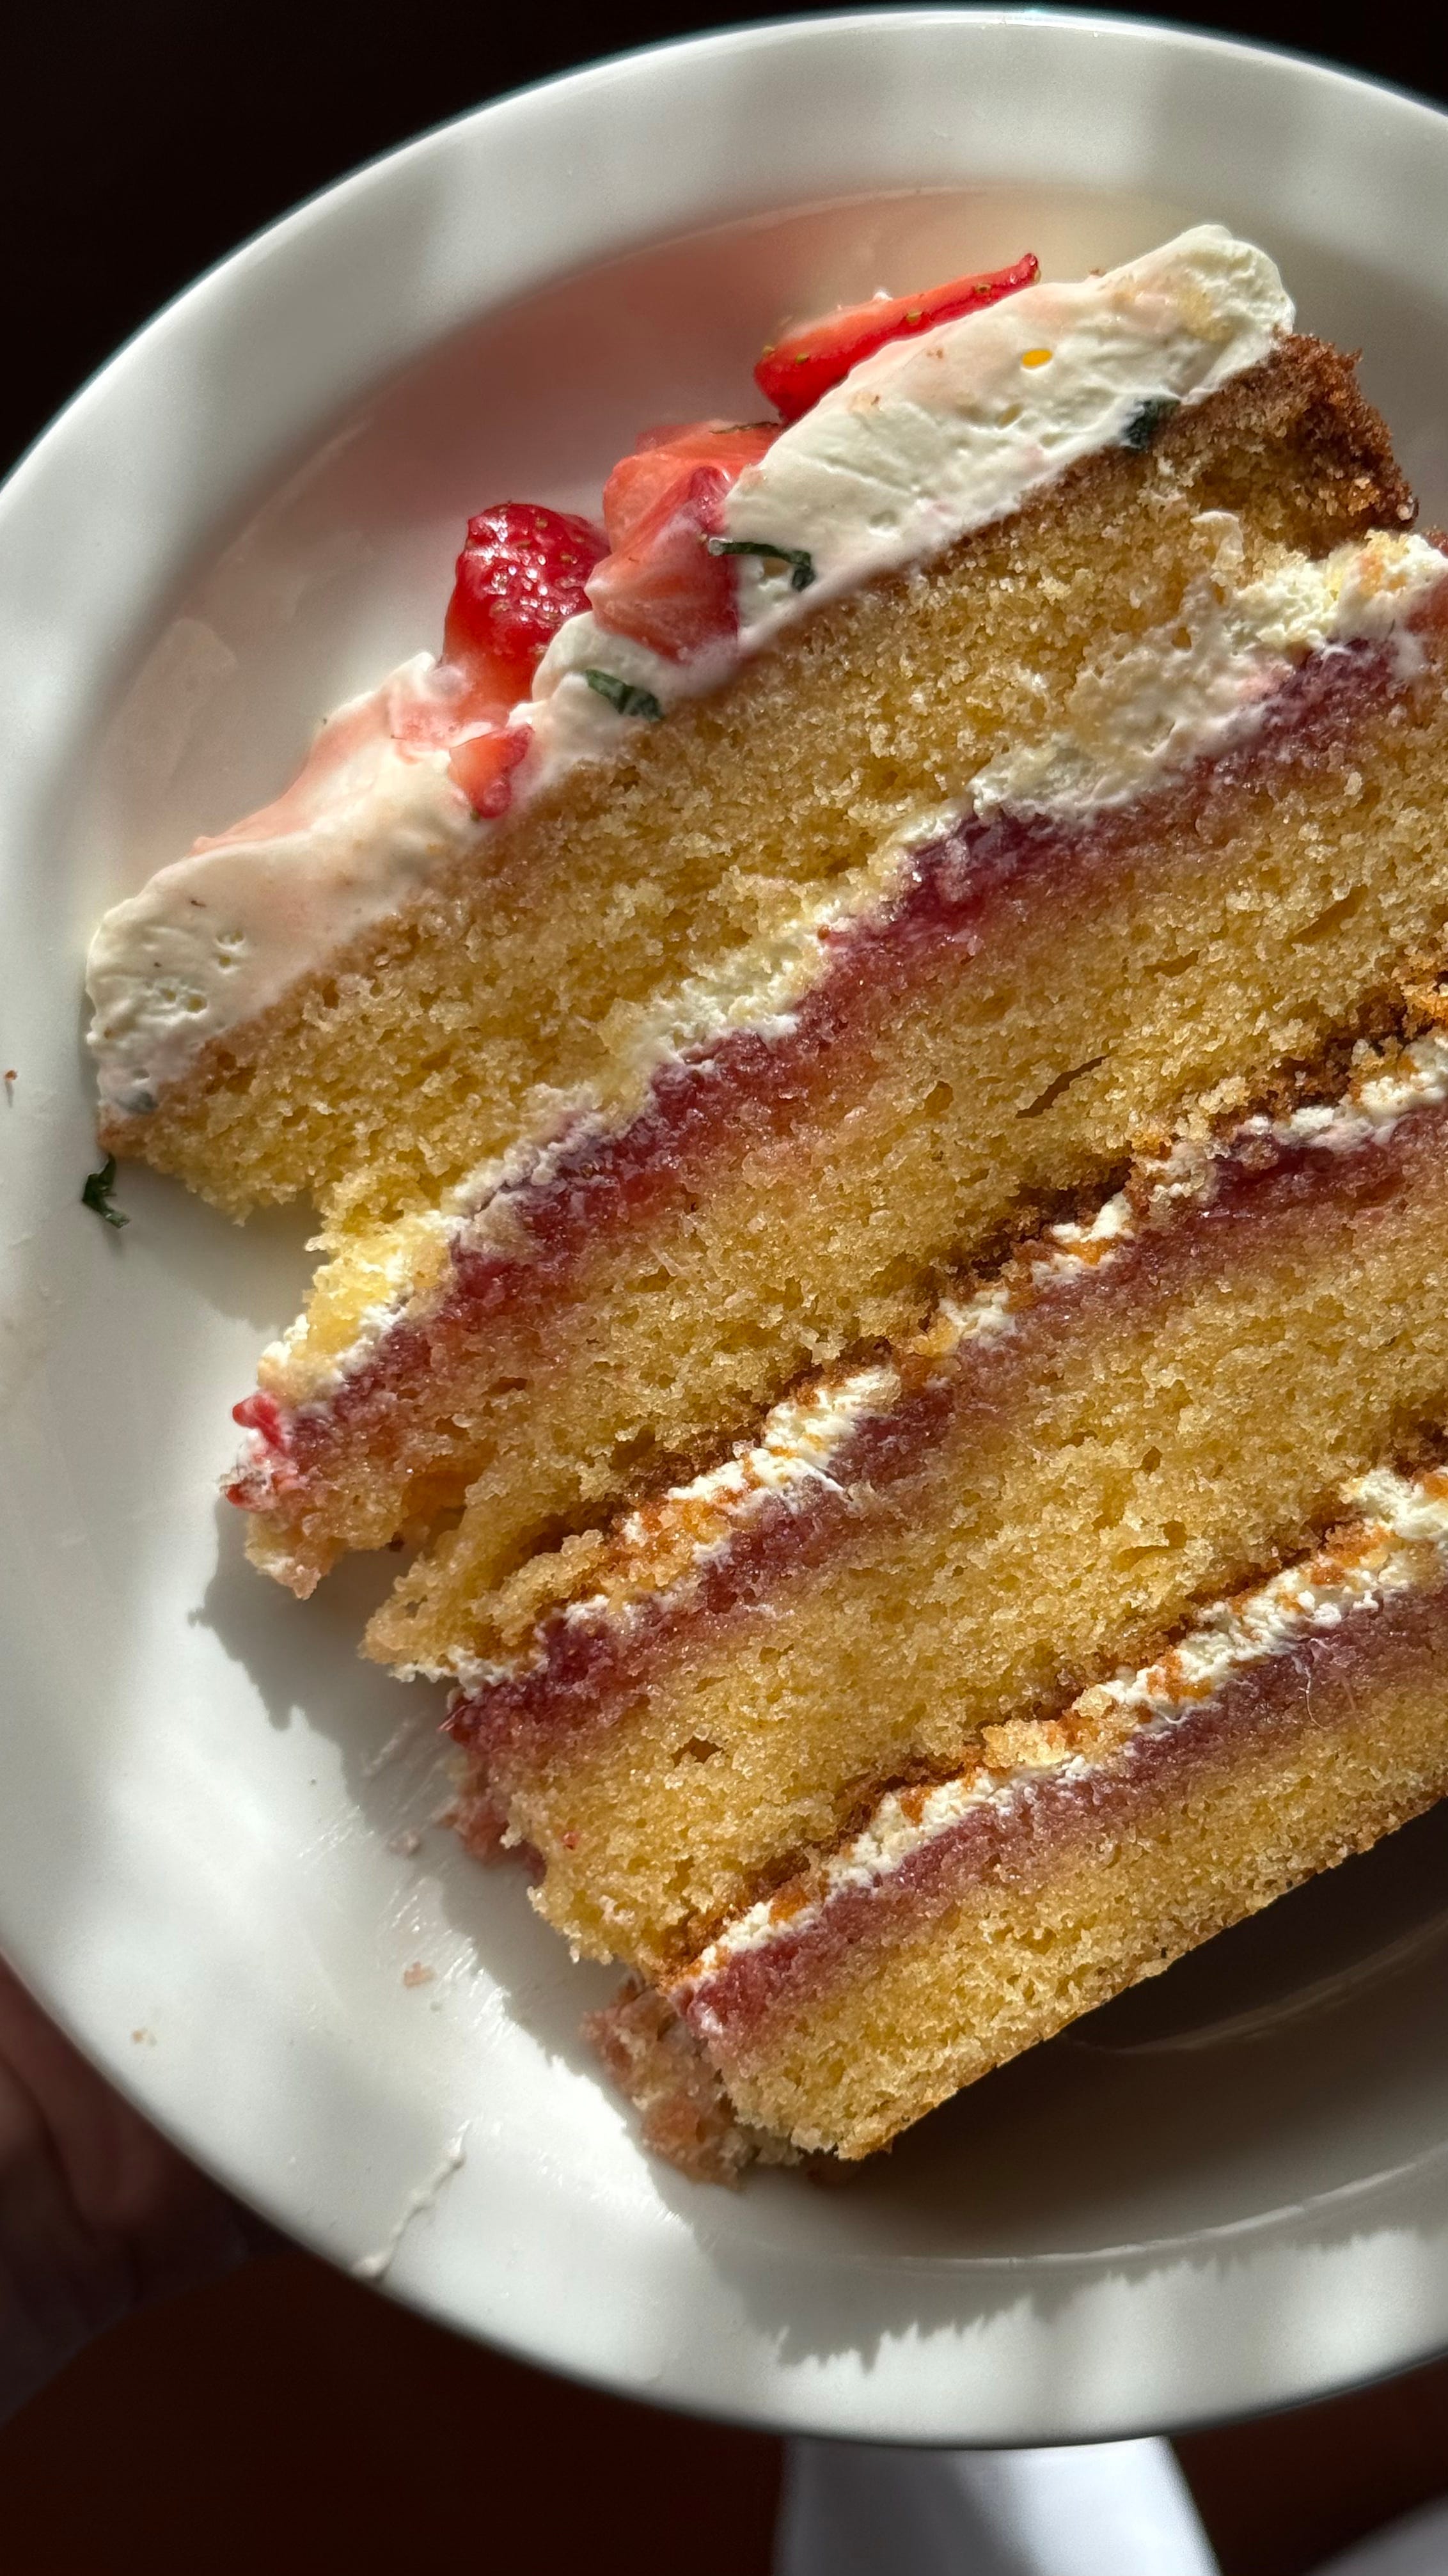
There is a certain smugness to be obtained by having multiple types of homemade jam in your fridge, and I truly believe that nothing will make you feel more like a domestic god/goddess. You don’t need me to tell you what to do with your jam, but my favourite uses are on crumpets, in cakes and on scones. I’ve compiled a little collage for you below of my favourite jams on the best croissants in the world (at Mor).


Method
The method for making jam is pretty straightforward, and varies only slightly according to the type of fruit in question. The main goal is to cook the fruit down in sugar until it reaches “setting point” which, according to your source, is around 104-105C. If you don’t have a thermometer (sugar or instant-read), you can use the “wrinkle test” (see below), which I usually use even if I have a thermometer to hand, because it’s fun. A lot of jams contain equal quantities of sugar and fruit, but I usually go for 60%, which is the minimum amount required to preserve the fruit.
When boiling jam, sometimes sugar is added with the fruit at the beginning (as with raspberries), and sometimes you need to cook the fruit down slightly first (like with strawbs). In general, I recommend using a wide shallow pan, as it allows water to evaporate more quickly.
The brightest and most flavourful jam is made quickly, and in small batches. You don’t want to be boiling the jam for hours as it’ll ruin the colour and flavour of the fruit - and similarly, it’s a bad idea (in my personal experience) to make a huge batch, as it’s difficult to cook the fruit at the same rate throughout. When the fruit is cooked down and the sugar has been added, bring it to a brisk boil and keep an eye on it, checking the temperature regularly, either with a thermometer or with the wrinkle test.
Pectin
Pectin is a crucial ingredient in jam-making. I couldn’t tell you what pectin is on a chemical level, but what I DO know is that it makes your jam set. Some fruits (like citrus fruit and quince) are naturally high in pectin, while others (like strawberries) have a lower level of pectin. Some people add pectin to their jam to ensure a firmer set - or you can use jam sugar, which contains pectin - but I prefer to rely on naturally-occurring pectin, which usually involves adding some lemon juice to the mix, to boost the pectin level.
Sterilising
If you want your jam to last a few months (or over a year), make sure you sterilise your jars. I like to do this by washing them with hot and soapy water, then rinsing them and placing them on trays in a 160C oven for 20 minutes. Then remove them and pour in the hot jam, being careful not to touch the inside of the jars or lids with your hands. Put the lid on while the jam is hot, which should seal the jar.
Wrinkle test
The wrinkle test is the age-old method for testing whether jam is set. To do this, put a few saucers or small plates in the freezer before you begin making your jam. When the jam has been boiling gently for about 5-10 minutes, and the bubbles are coming through a little slower (meaning that a lot of liquid has evaporated), take a plate out of the freezer and place a teaspoonful of jam on the plate. Put it back in the freezer for 5 minutes. While you’re waiting, take the jam off the boil: if the jam has set, you don’t want to overcook it. After 5 minutes, take the plate out and gently push your finger through the centre. The jam should have solidified to the point where the surface wrinkles - I like to envision the brow of a shar pei here, if that’s a helpful reference point for you (see below). If there’s no wrinkle, keep boiling the jam for another 3-4 minutes, then test again. Repeat until you’ve achieved the wrinkle.

Time to make some jam! If you have a glut of a different kind of fruit (blackcurrants, plums, blackberries etc.), you can definitely still make jam - I recommend starting with the 60% sugar rule (to total prepared fruit content), and if in doubt, cook down the fruit slightly before adding the sugar. Happy jam-making x
recipe: apricot and peach jam
Keep reading with a 7-day free trial
Subscribe to Tastebuds to keep reading this post and get 7 days of free access to the full post archives.