Baked Alaska
perfect for silly season

What I’m reading: I’m still working my way through (and loving) Butter by Asako Yuzuki, but also keeping up to date on current affairs via my favourite news platform, shit you should care about
What I’m listening to: Joshua Burnside’s new single/EP Up and Down
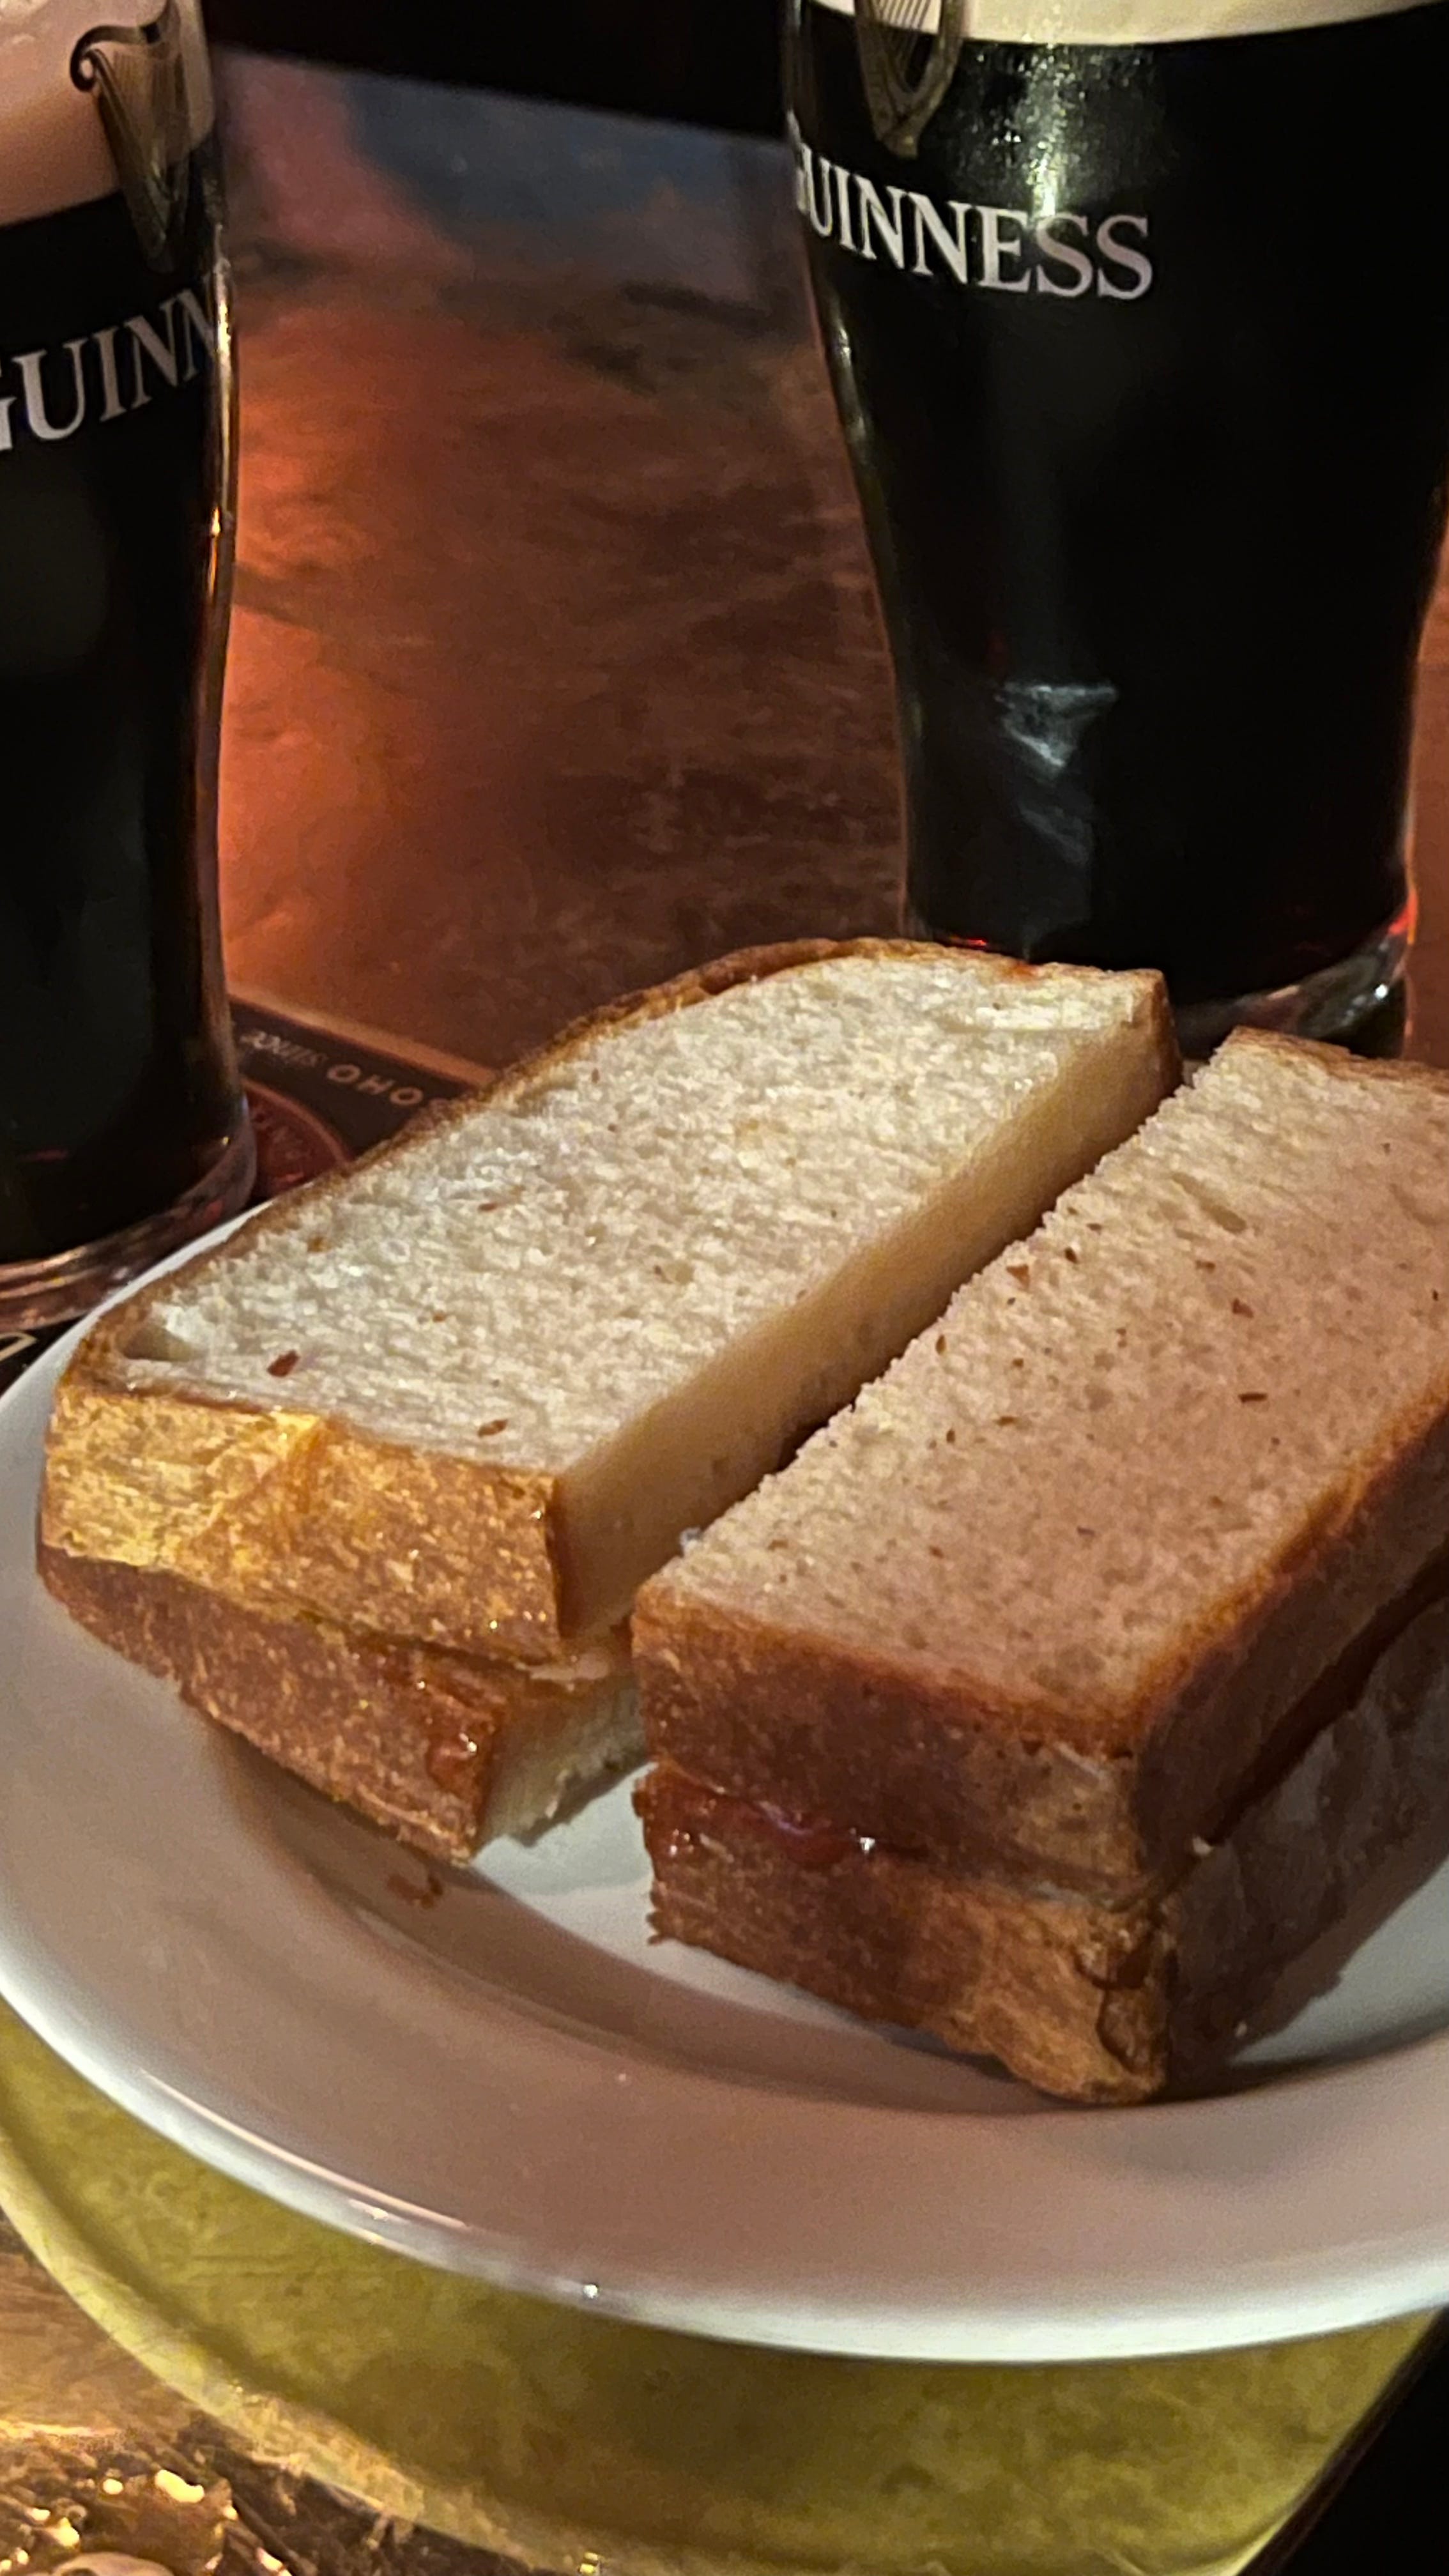
What I’m eating: the bacon sandwich at the Devonshire (below). Really, really good
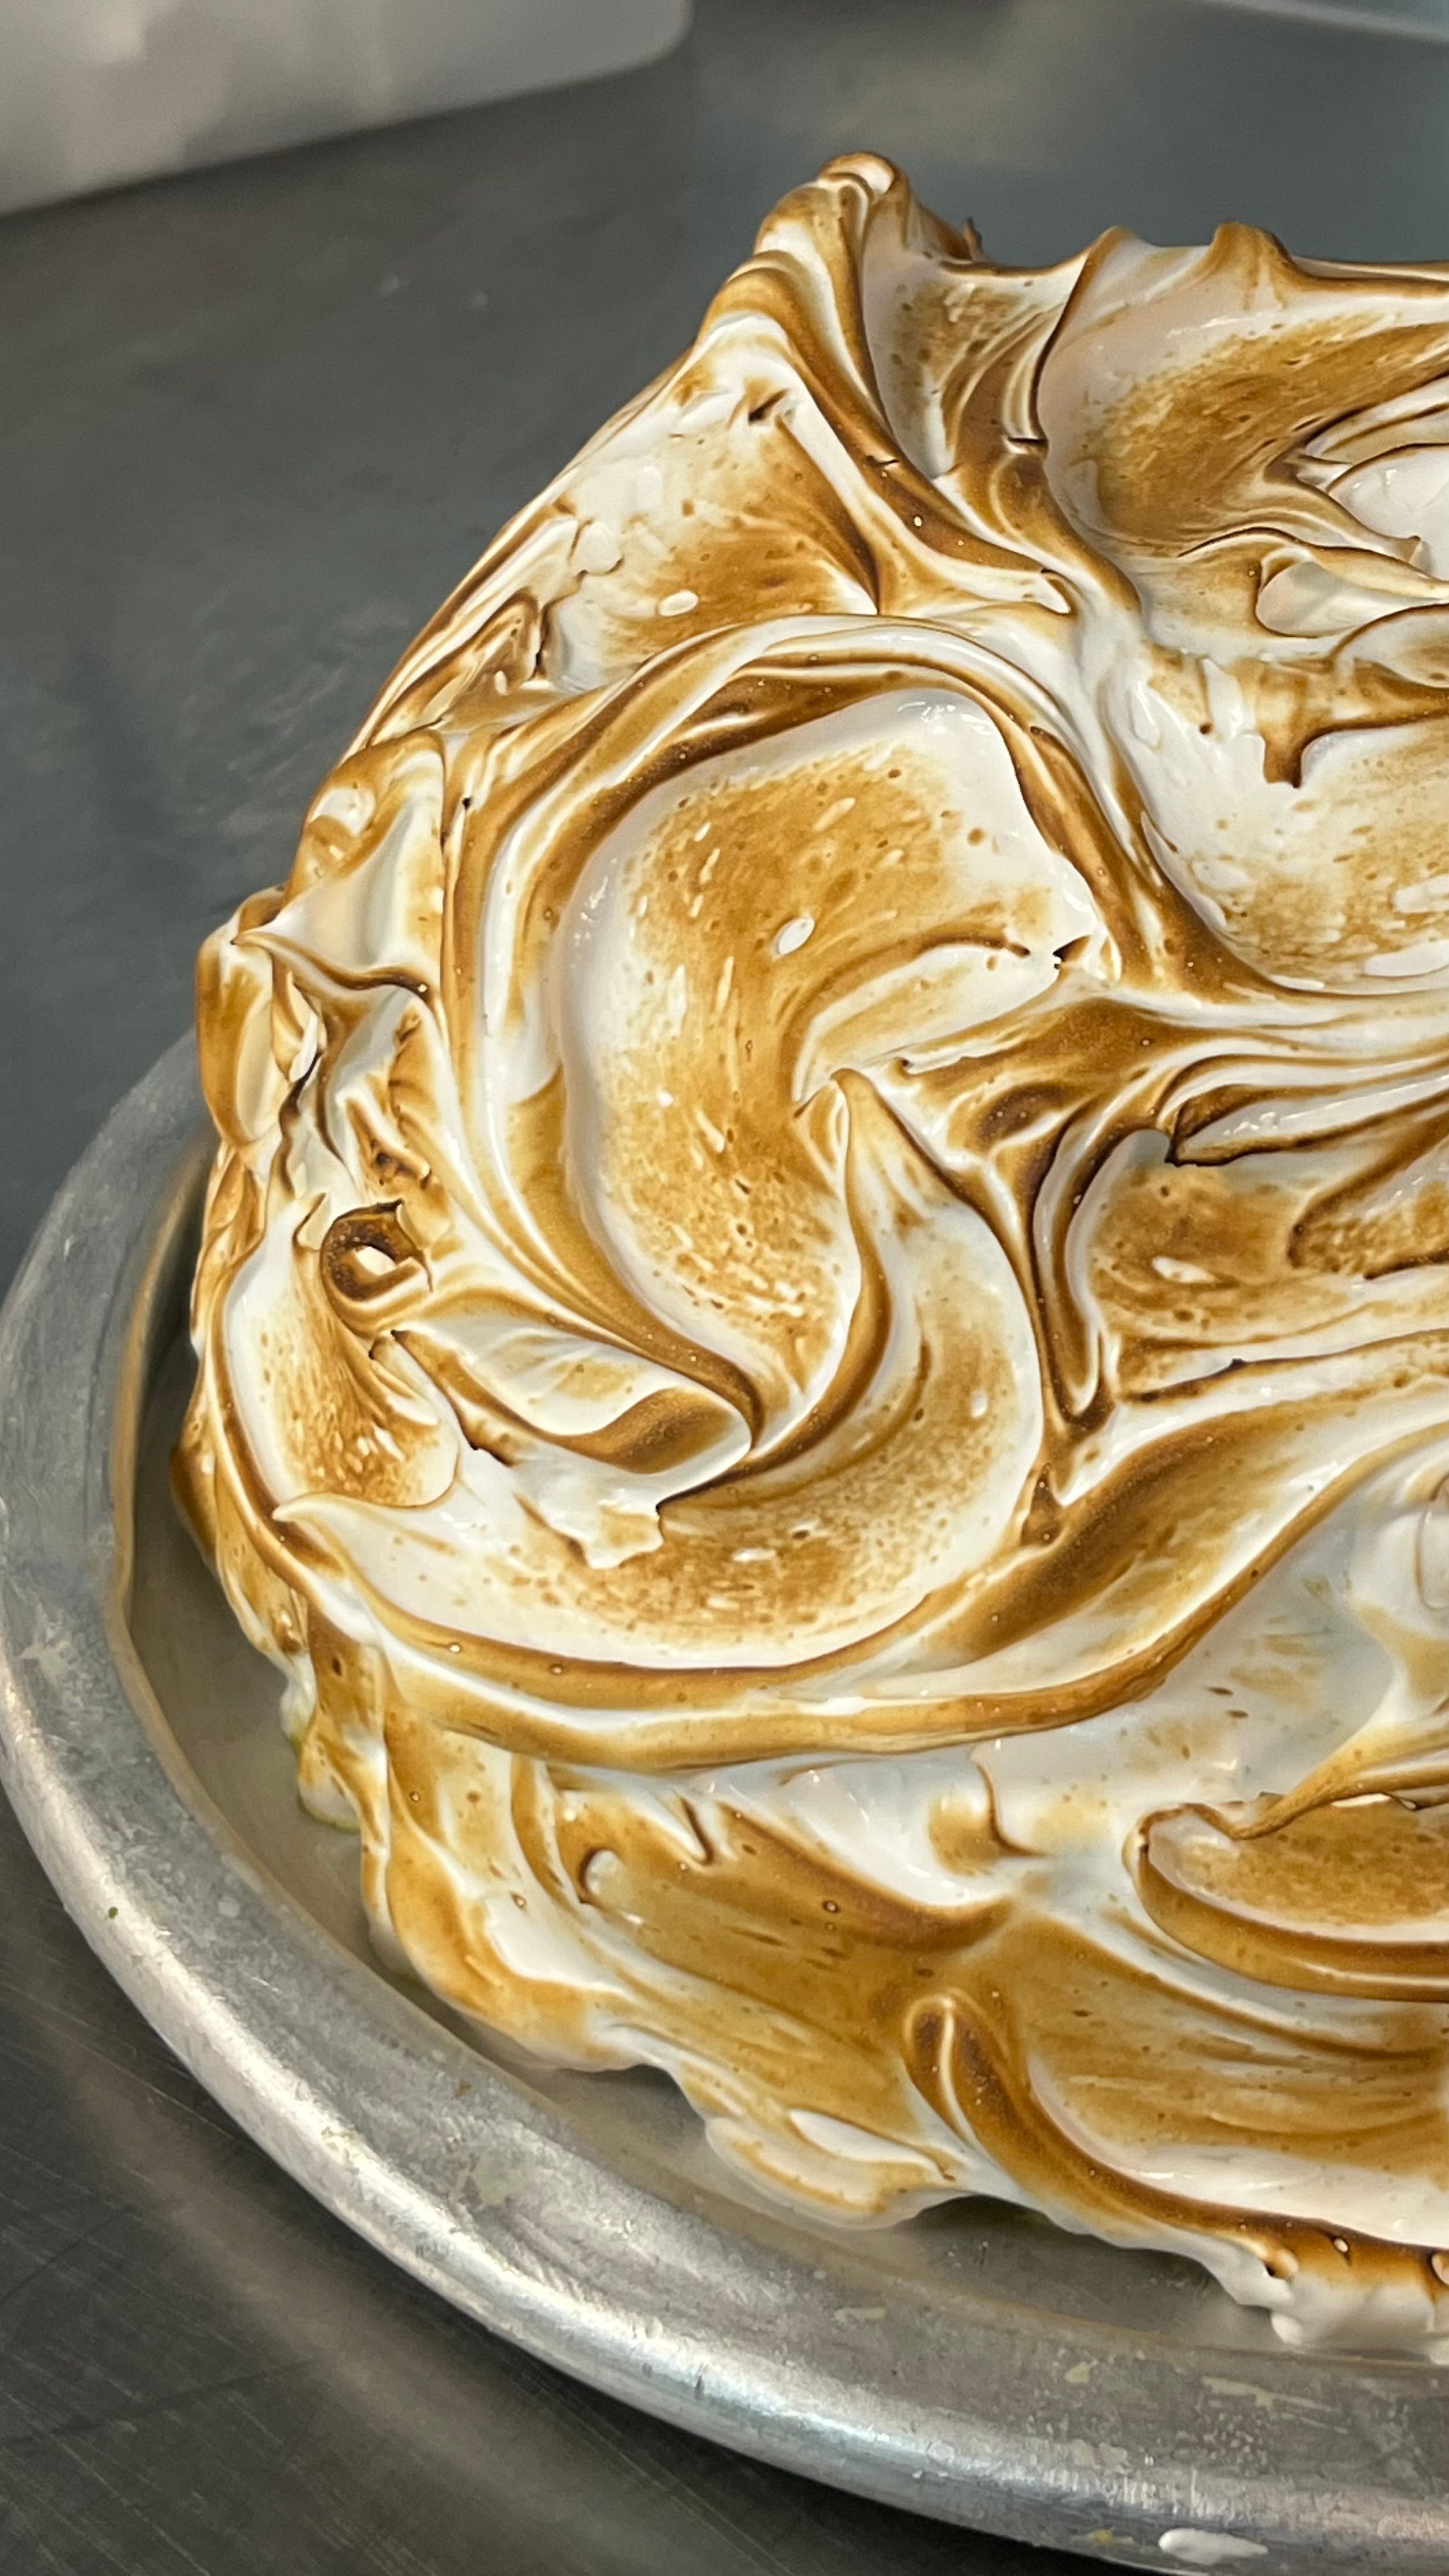
I dreamed up this Baked Alaska about 6 weeks ago, and since then, it’s kind of grown legs and become something that I am simultaneously really proud of and is the bane of my existence. I had a very specific idea of how I wanted this Baked Alaska to look: three complementary flavours of ice-cream in three bright vibrant colours, pillowy rugged peaks of torched Swiss meringue, thin layers of Genoise sponge brushed with raspberry jam to demarcate the layers. It’s quite a retro dessert, and I think that even if you never ate Baked Alaska as a child, it evokes quite a nostalgic, almost sentimental feeling (at least that’s the hope).

Although I had never made one before, I was fairly confident in the technique involved in making all of the separate components: ice-cream, Genoise sponge and Swiss meringue. That said, I did lose quite a lot of sleep worrying that the layers wouldn’t come through neatly - and the trouble with making this dessert for an event is that you don’t actually know what the inside is going to look like until you’ve torched the meringue and cut your first slice - at which point you pretty much have to serve it immediately. It’s quite a temperature sensitive dessert: you have to carefully monitor the consistency of each layer of ice-cream as you assemble (which takes a couple of hours), and then you also have to make sure that you insulate the ice-cream fully with meringue, otherwise you’ll end up melting it as you blowtorch it. It didn’t help matters that for this particular event, I had to assemble the ice-cream part of the Baked Alaska in one kitchen, and then travel half an hour to bring it to another kitchen, where it was covered in meringue and torched.
What I’m trying to say is that this is certainly a showstopping dessert, but maybe not for the faint-hearted (or those with anxious tendencies, among whom I count myself).
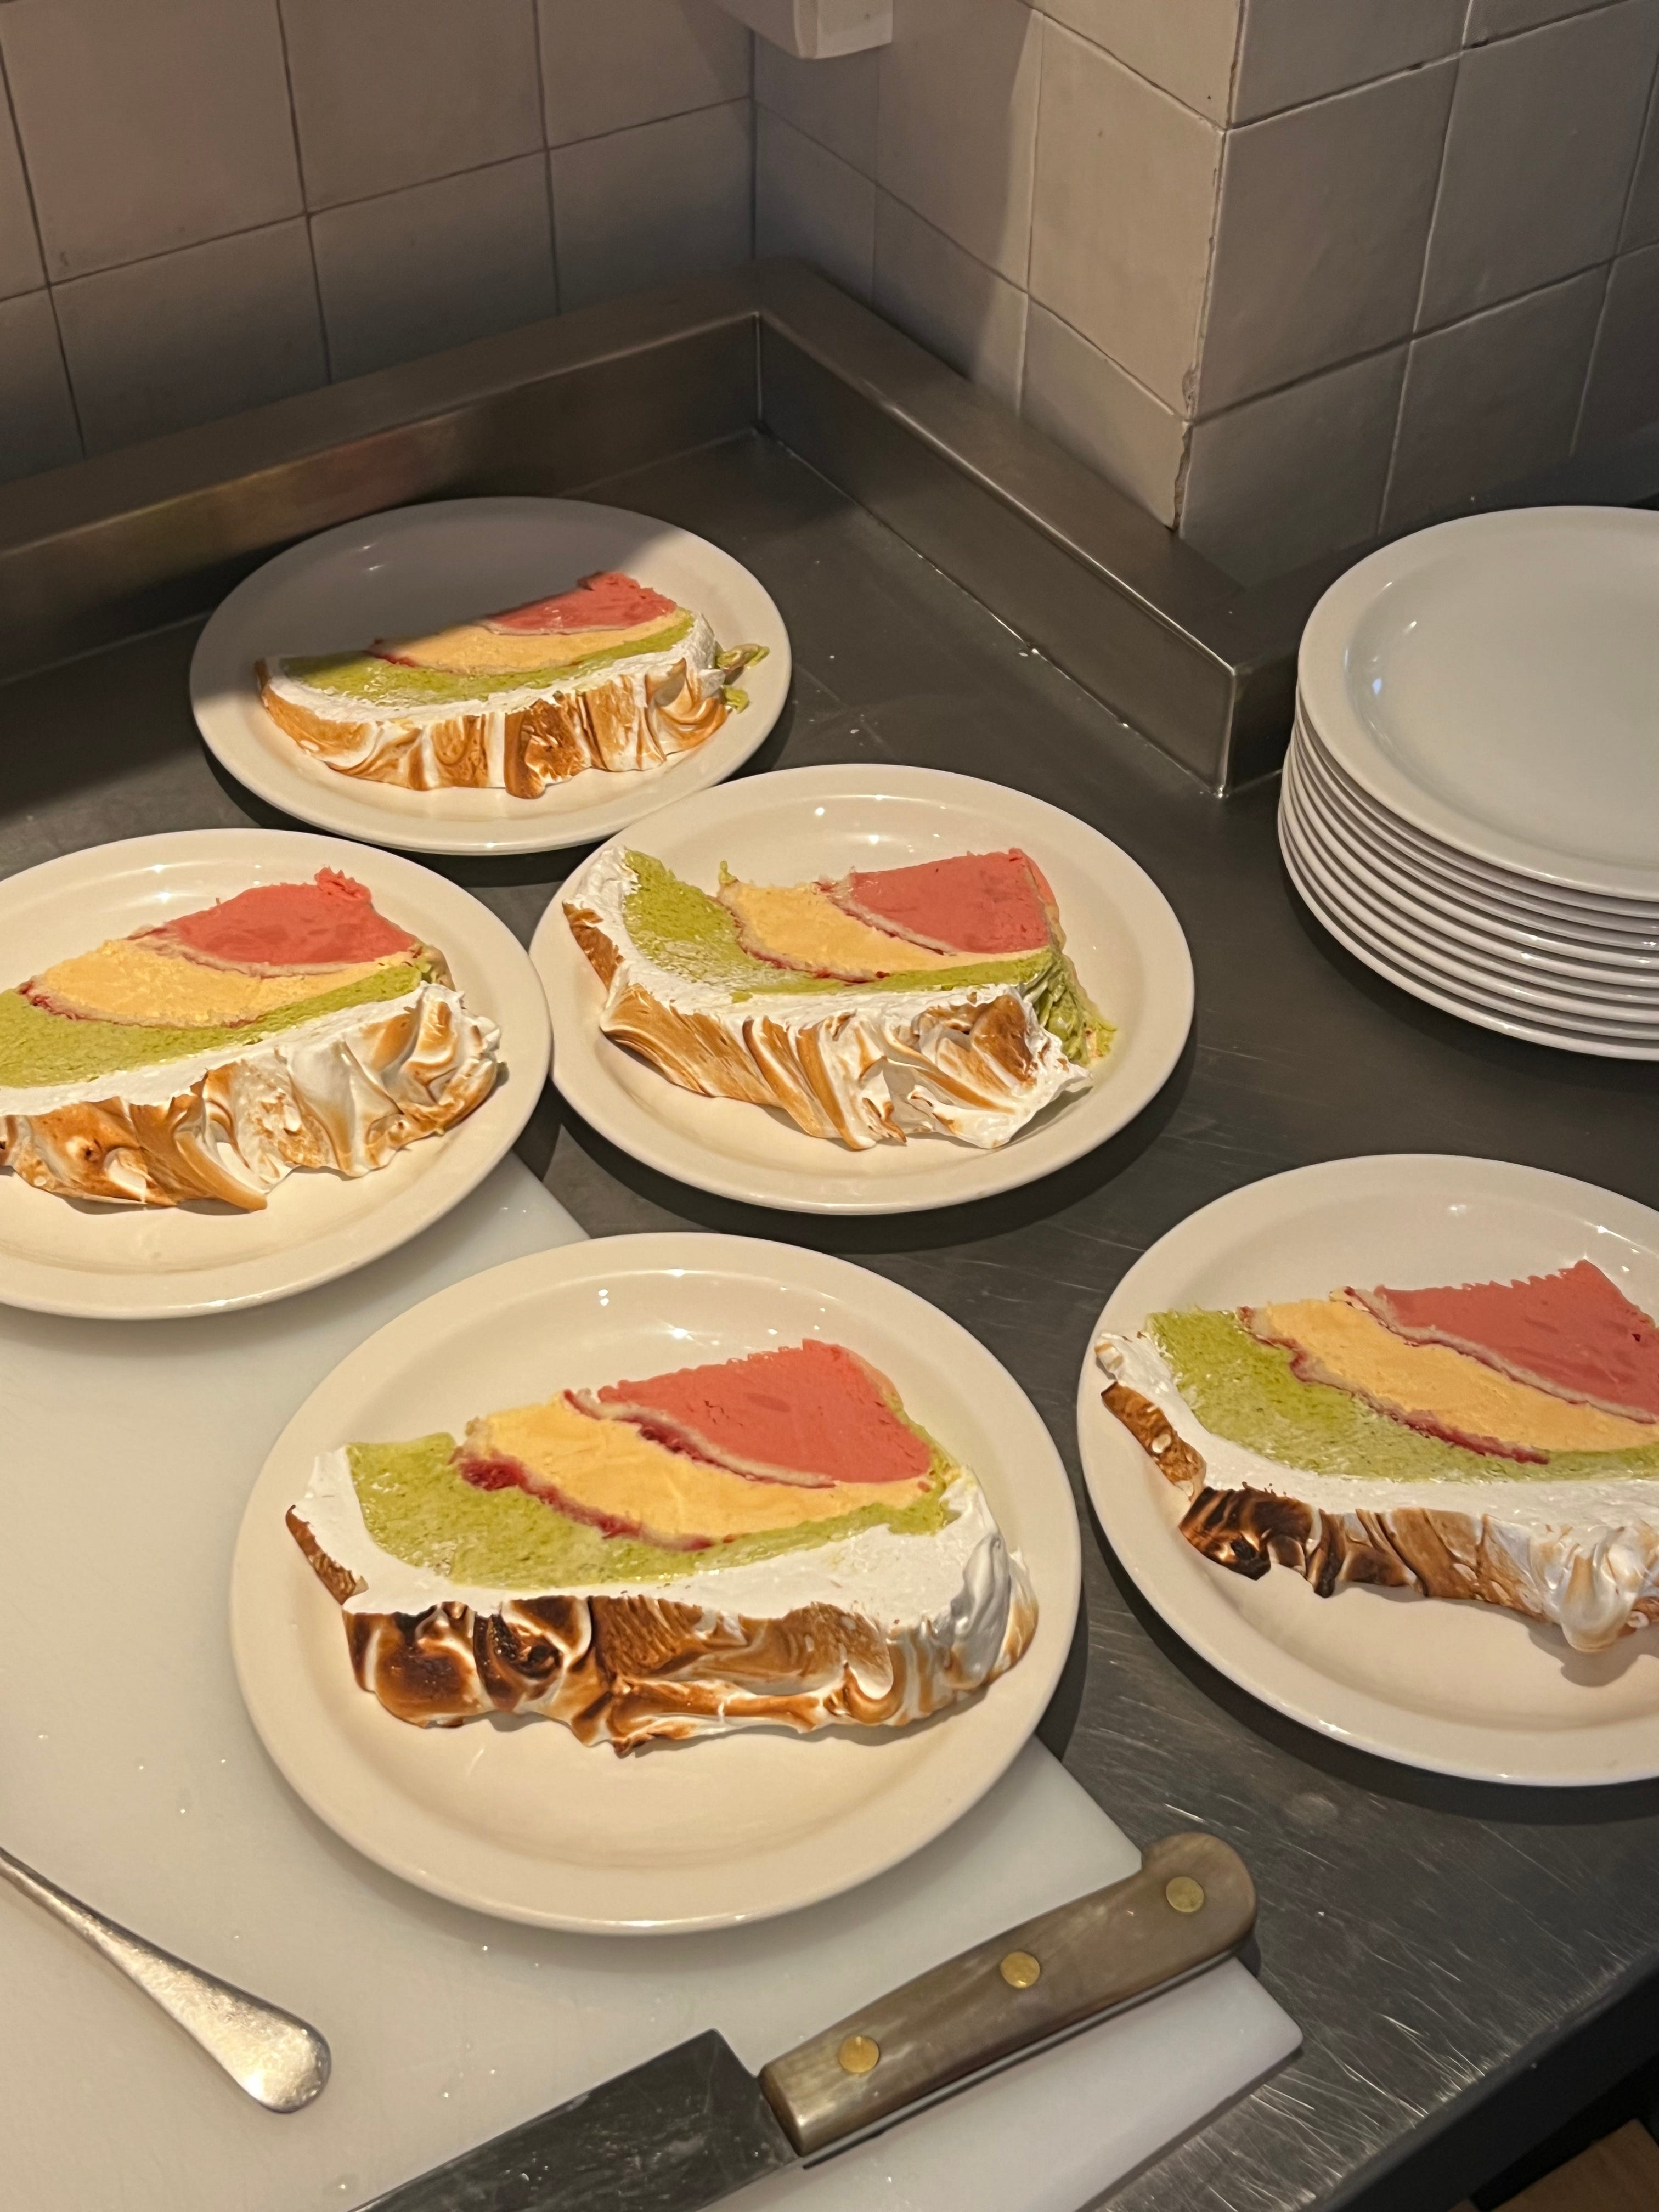
The assembly is actually quite straightforward, once you get the hang of managing the temperature and consistency of your ice-cream. You’ll find below a guide of how to assemble the Baked Alaska, and the good news is that you can actually cut a lot of corners here, if you don’t feel like committing hours of your time - or don’t have an ice-cream machine. You can buy ice-cream, jam, and even sponge - but I’ve given full recipes for all below, if you want to go all out. You can also play around with flavours: I’ve gone for pistachio, raspberry and vanilla here, but feel free to swap these out for your favourite ice-cream flavours - same goes for the sponge and jam.
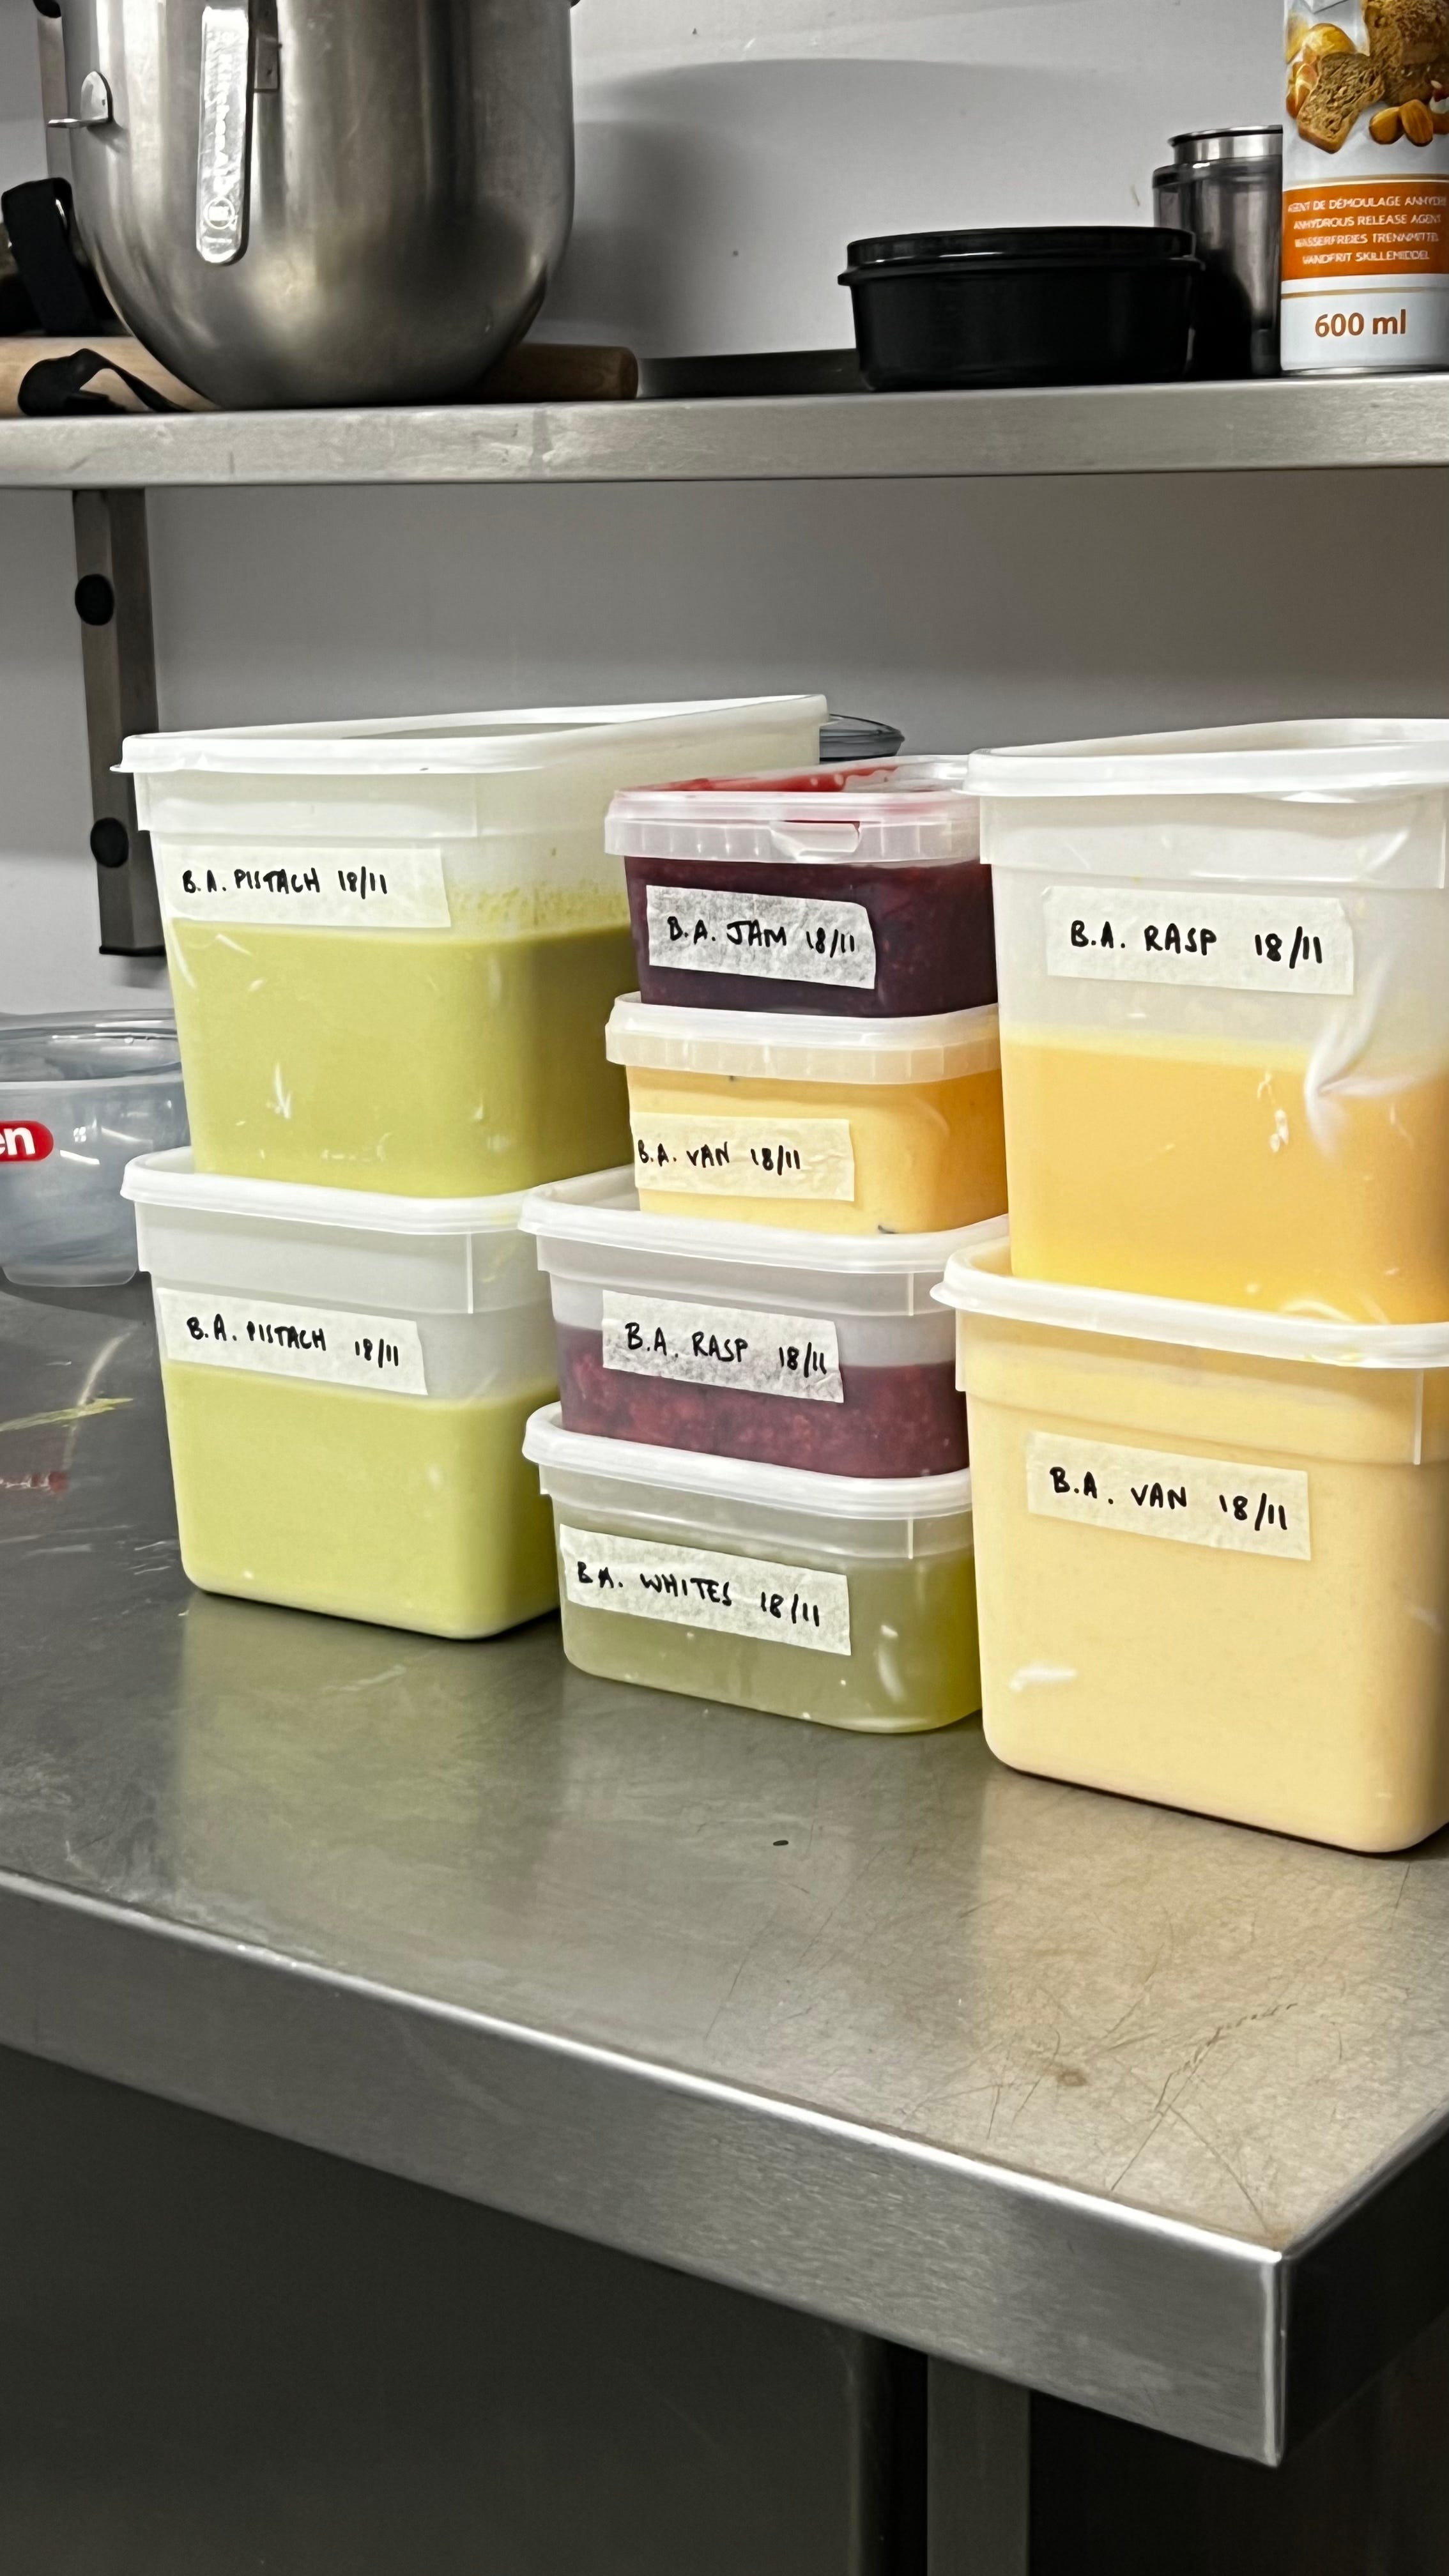
You’ll need three bowls that nestle inside each other neatly and have a fairly round bottom (not flat). I used 0.5l, 1l and 2l Pyrex bowls (linked here but anything similar will work!). This will also help you figure out how much ice-cream you need: I put raspberry in the smallest bowl, so needed about 0.5l, then vanilla in the medium bowl, and needed the same again (1l minus 0.5l), and then pistachio in the biggest bowl, so I needed about 1l (2l minus 2l). The recipes for ice-cream here make slightly more than this to allow some wiggle room, but you can freeze any extra in a Tupperware container.
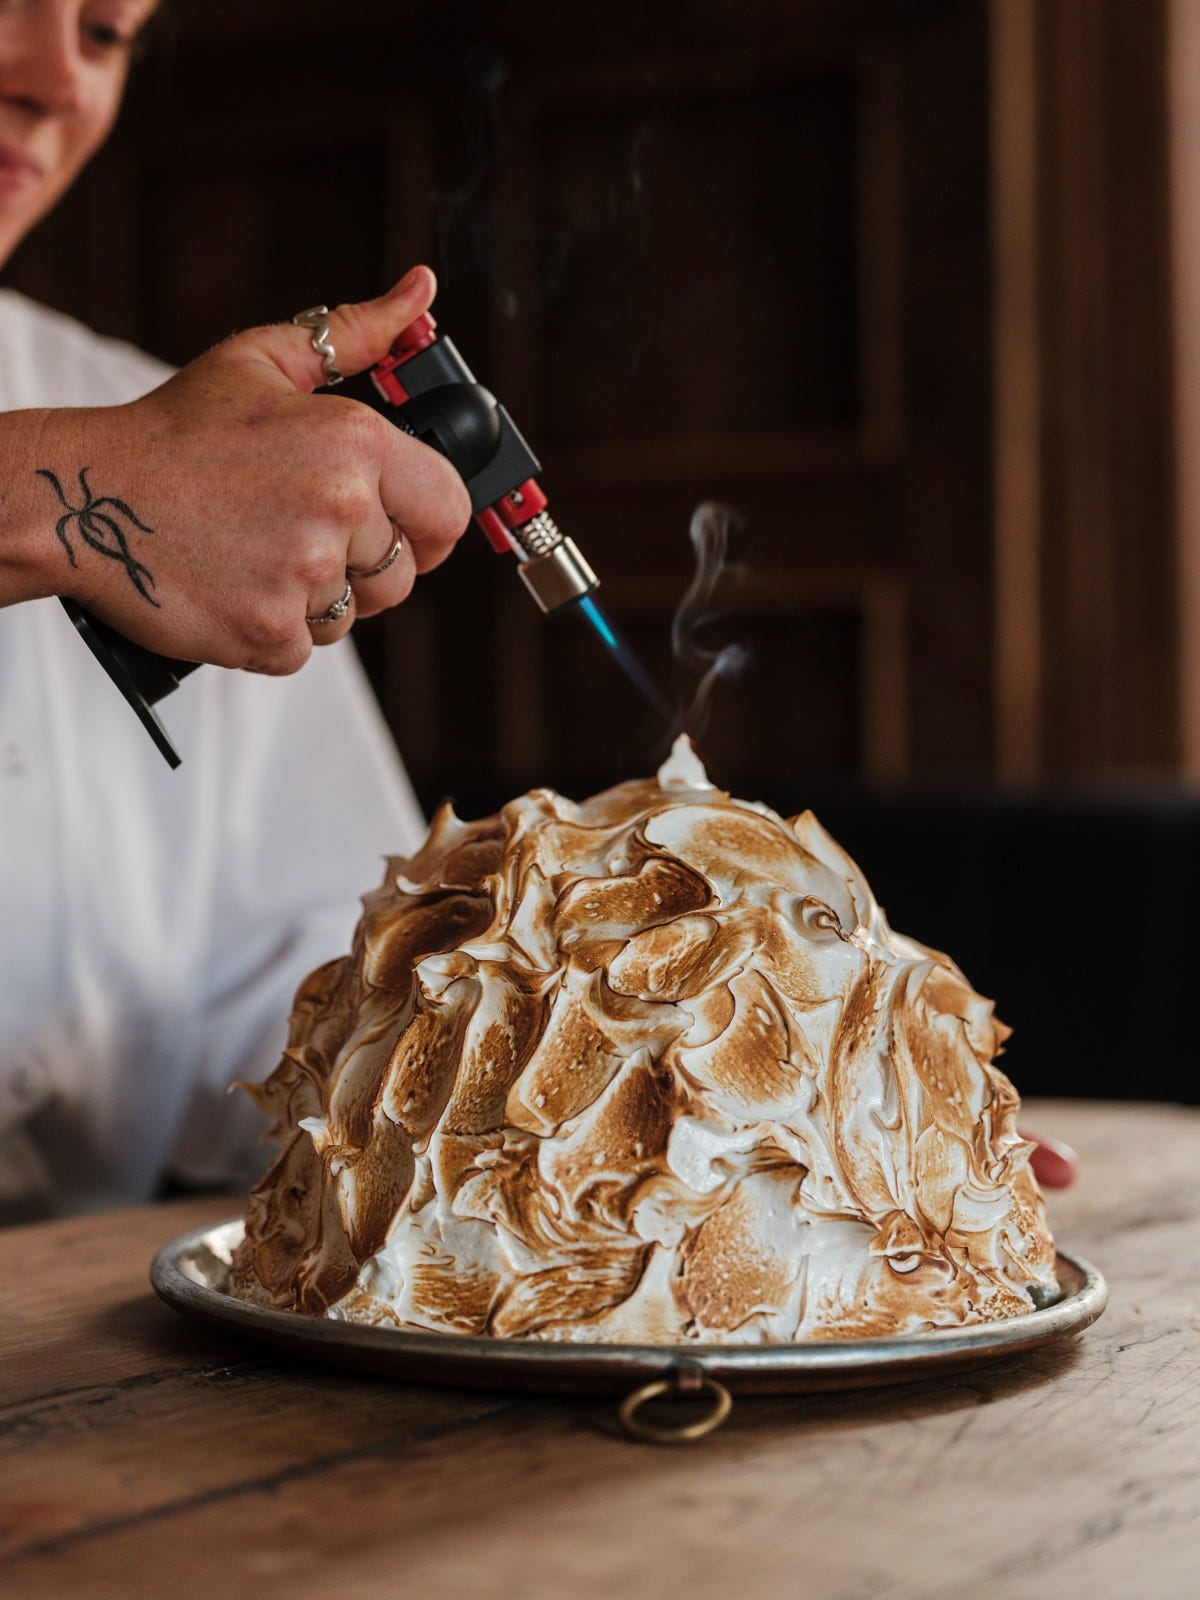
The basic method is as follows: you churn and set the first ice-cream (raspberry) in the smallest bowl, and freeze it solid. Then you churn the second ice-cream (vanilla) and place it in the second bowl, pushing in the frozen raspberry ice-cream block so that it fits neatly inside (with a layer of jam and sponge between the layers). Then you freeze this fully, and repeat with the final ice-cream (pistachio), pushing the frozen ice-cream block in (again with a layer of jam and sponge), before freezing this block fully. You then cover this with meringue and brûlée it, before serving immediately.
Schedule-wise, I recommend making the bases for all three ice-creams, as well as the sponge and jam on day 1, then churning and assembling on day 2, and finally topping with meringue and torching on day 3.
recipe: Baked Alaska