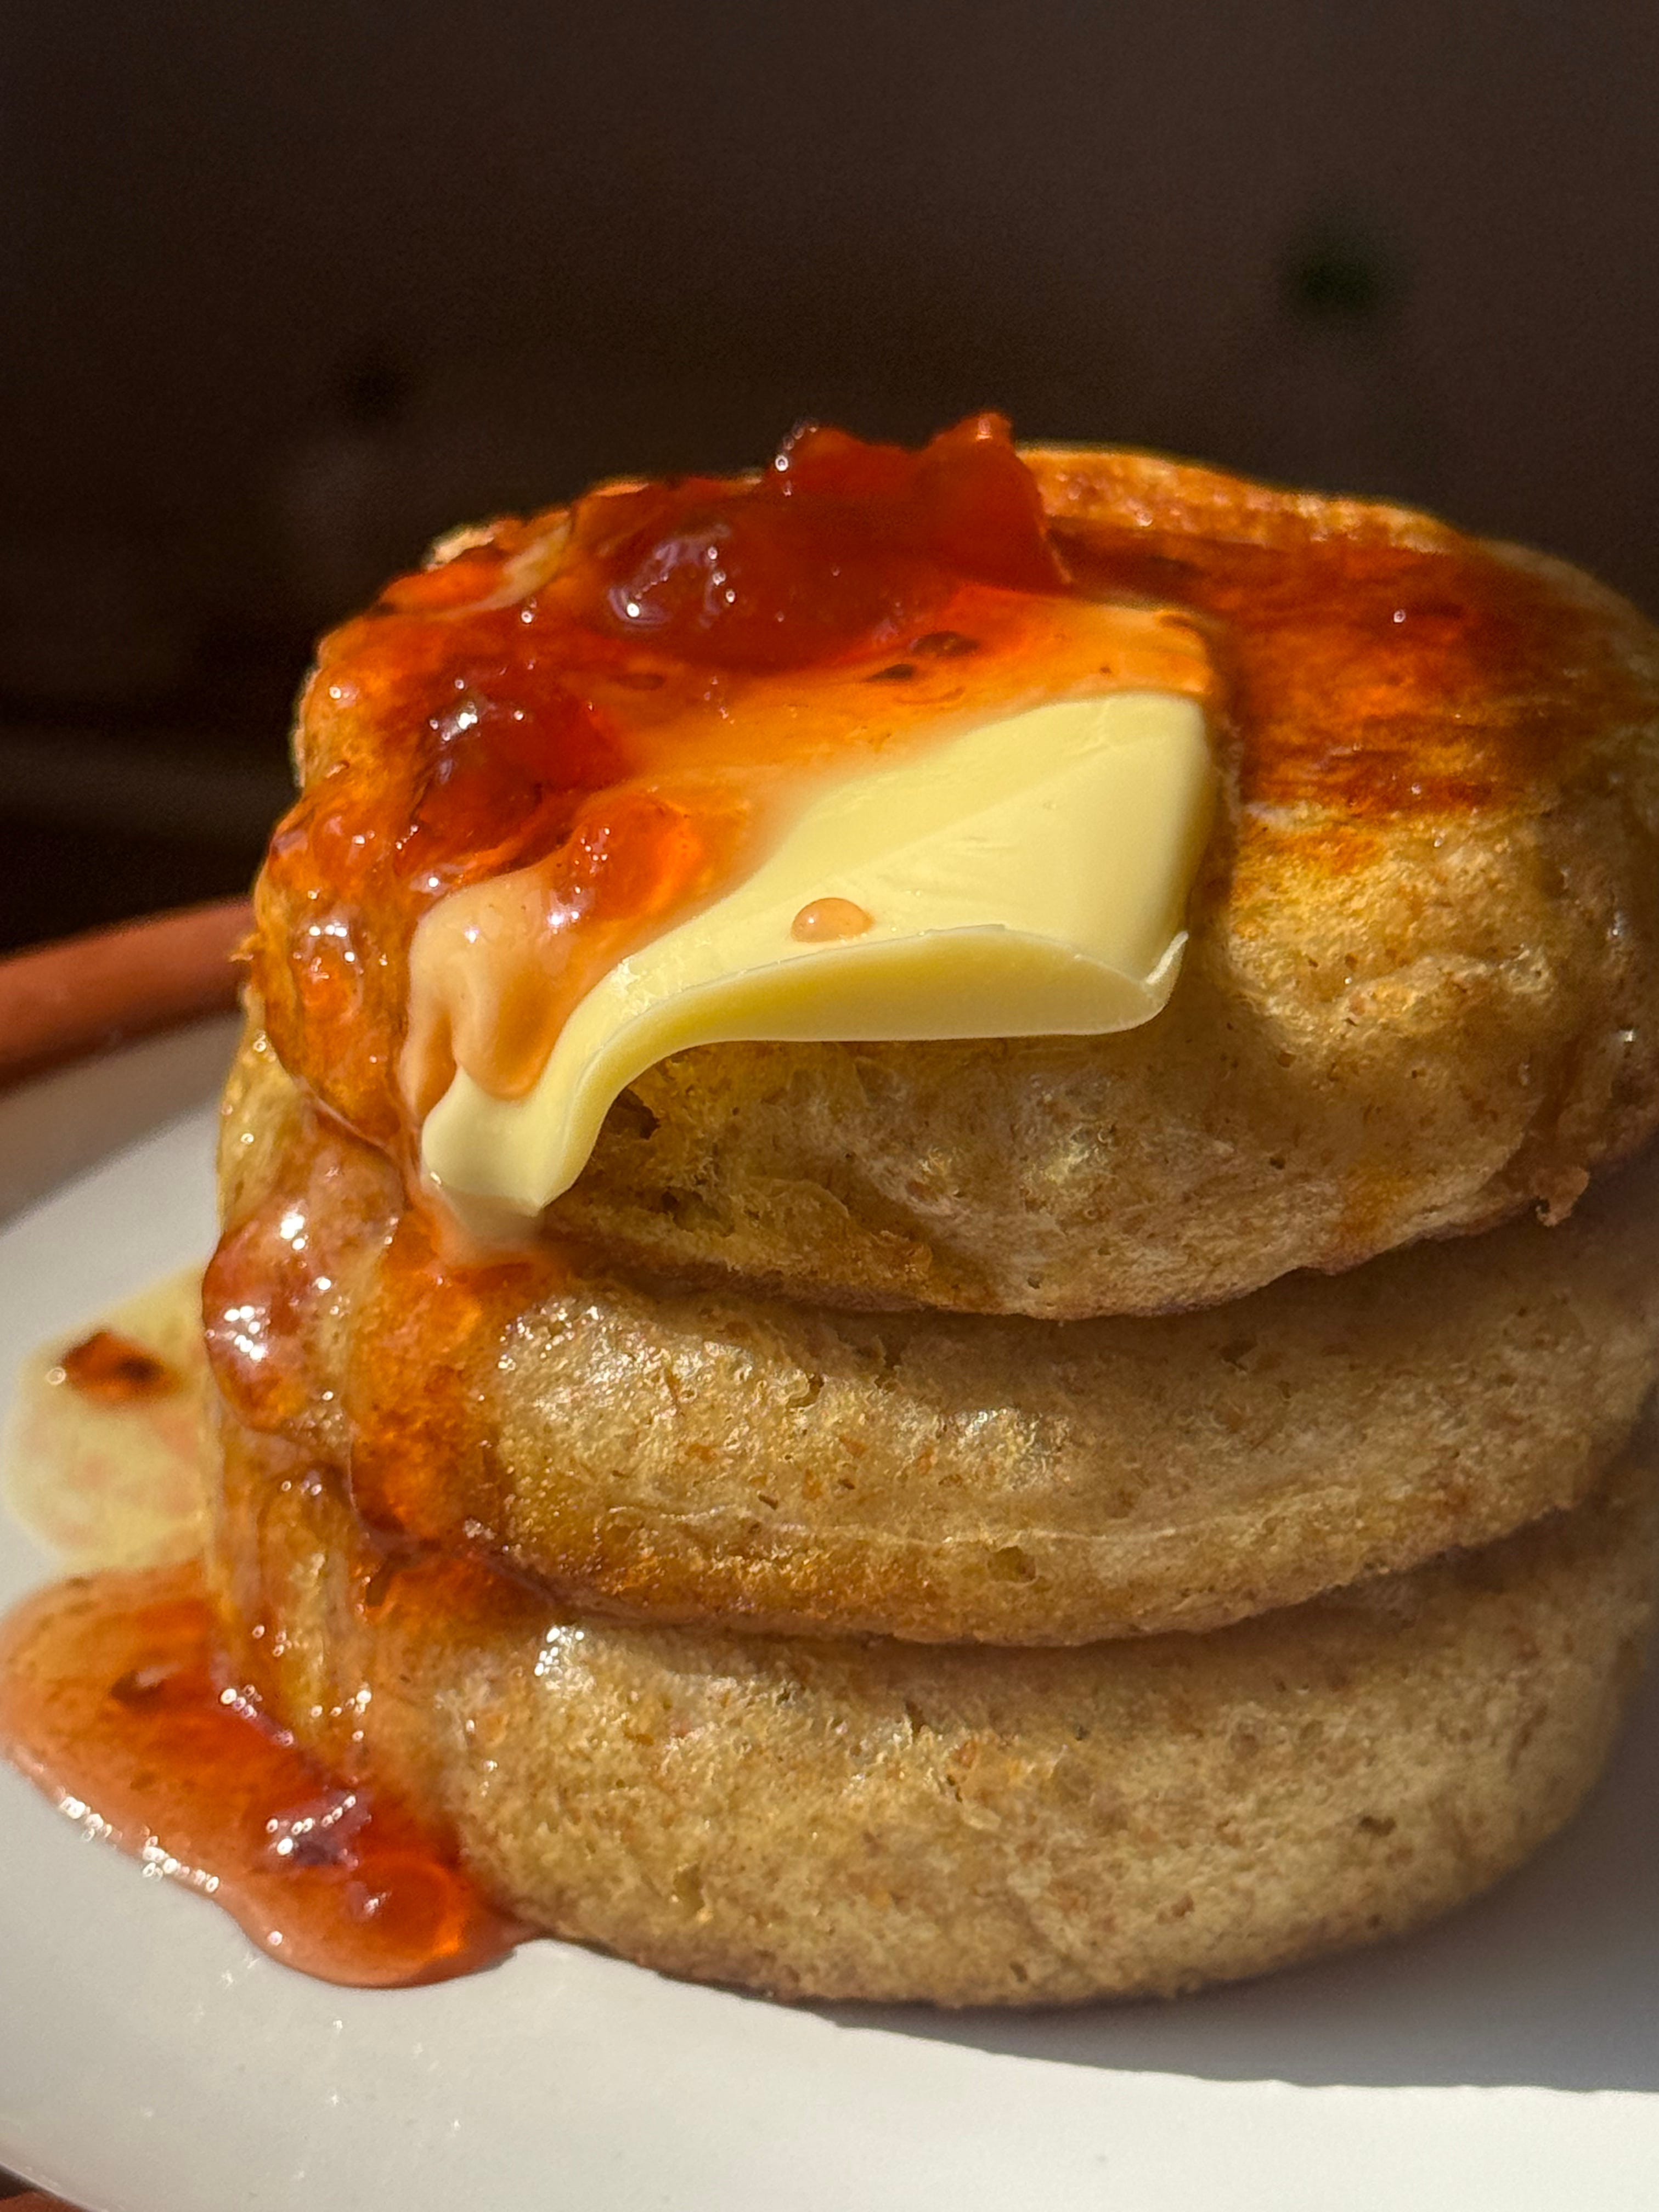
crumpets!!!
and a jam to eat them with

What I’m reading: Yesteryear by Caro Claire Burke. I’m finding the structure a little disjointed and confusing, and it’s hard to tell at times whether Burke is being ironic (or misogynistic/homophobic) but I will say that it is an easy/entertaining read.
What I’m listening to: CMAT on Sidetracked with Annie McMacmanus - top notch entertainment
What I’m eating: the burger at The Edinburgh - every bit as good as they say (see below)
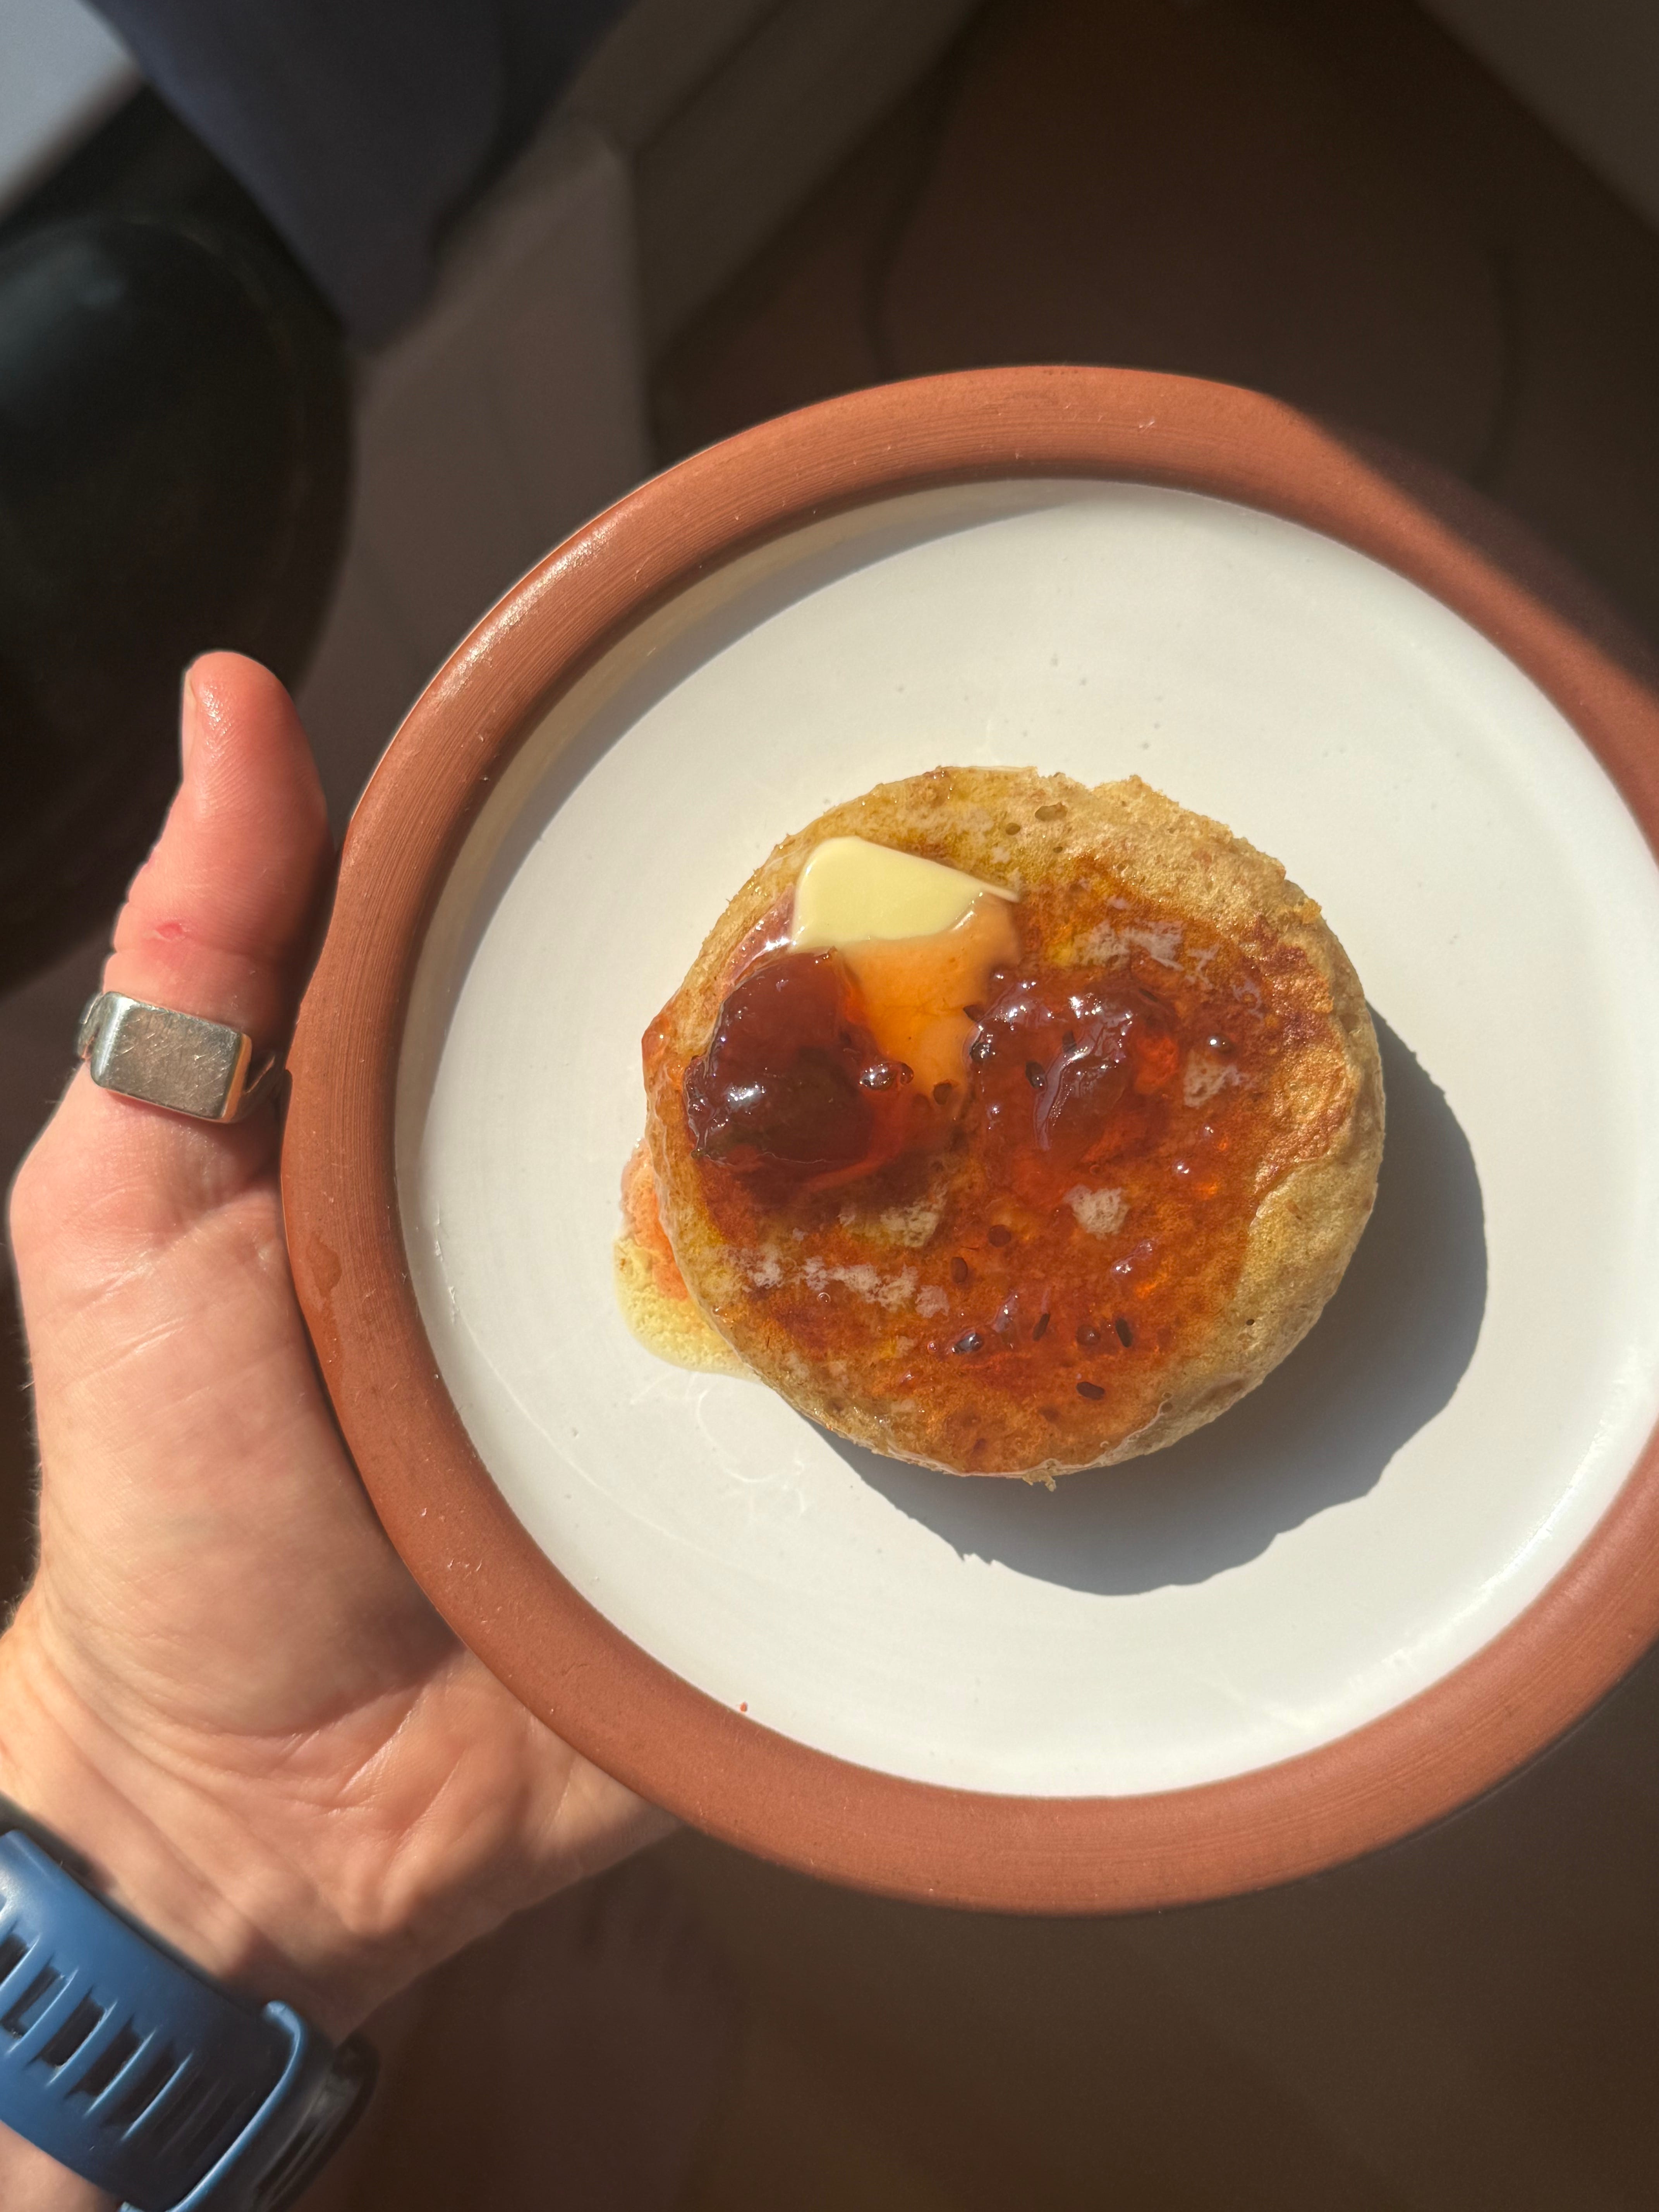
I adore crumpets - I always have a pack in my freezer, and eat them fairly regularly with butter and jam. While I am fond of the packet version, they are super easy to make yourself, and there is truly nothing like a fresh crumpet - plus you have more control over the ingredients, allowing you to use the best flour, butter, buttermilk etc. This feels like a perfect time to publish my crumpet recipe as it’s also JAM SEASON - there is a whole range of fruit available at the moment which is perfect for jam-making: strawberries, raspberries, gooseberries (my current fave), not to mention all the stone fruit (apricot, peach, cherry etc.). Read on if you’re looking to level up your jam/crumpet game.
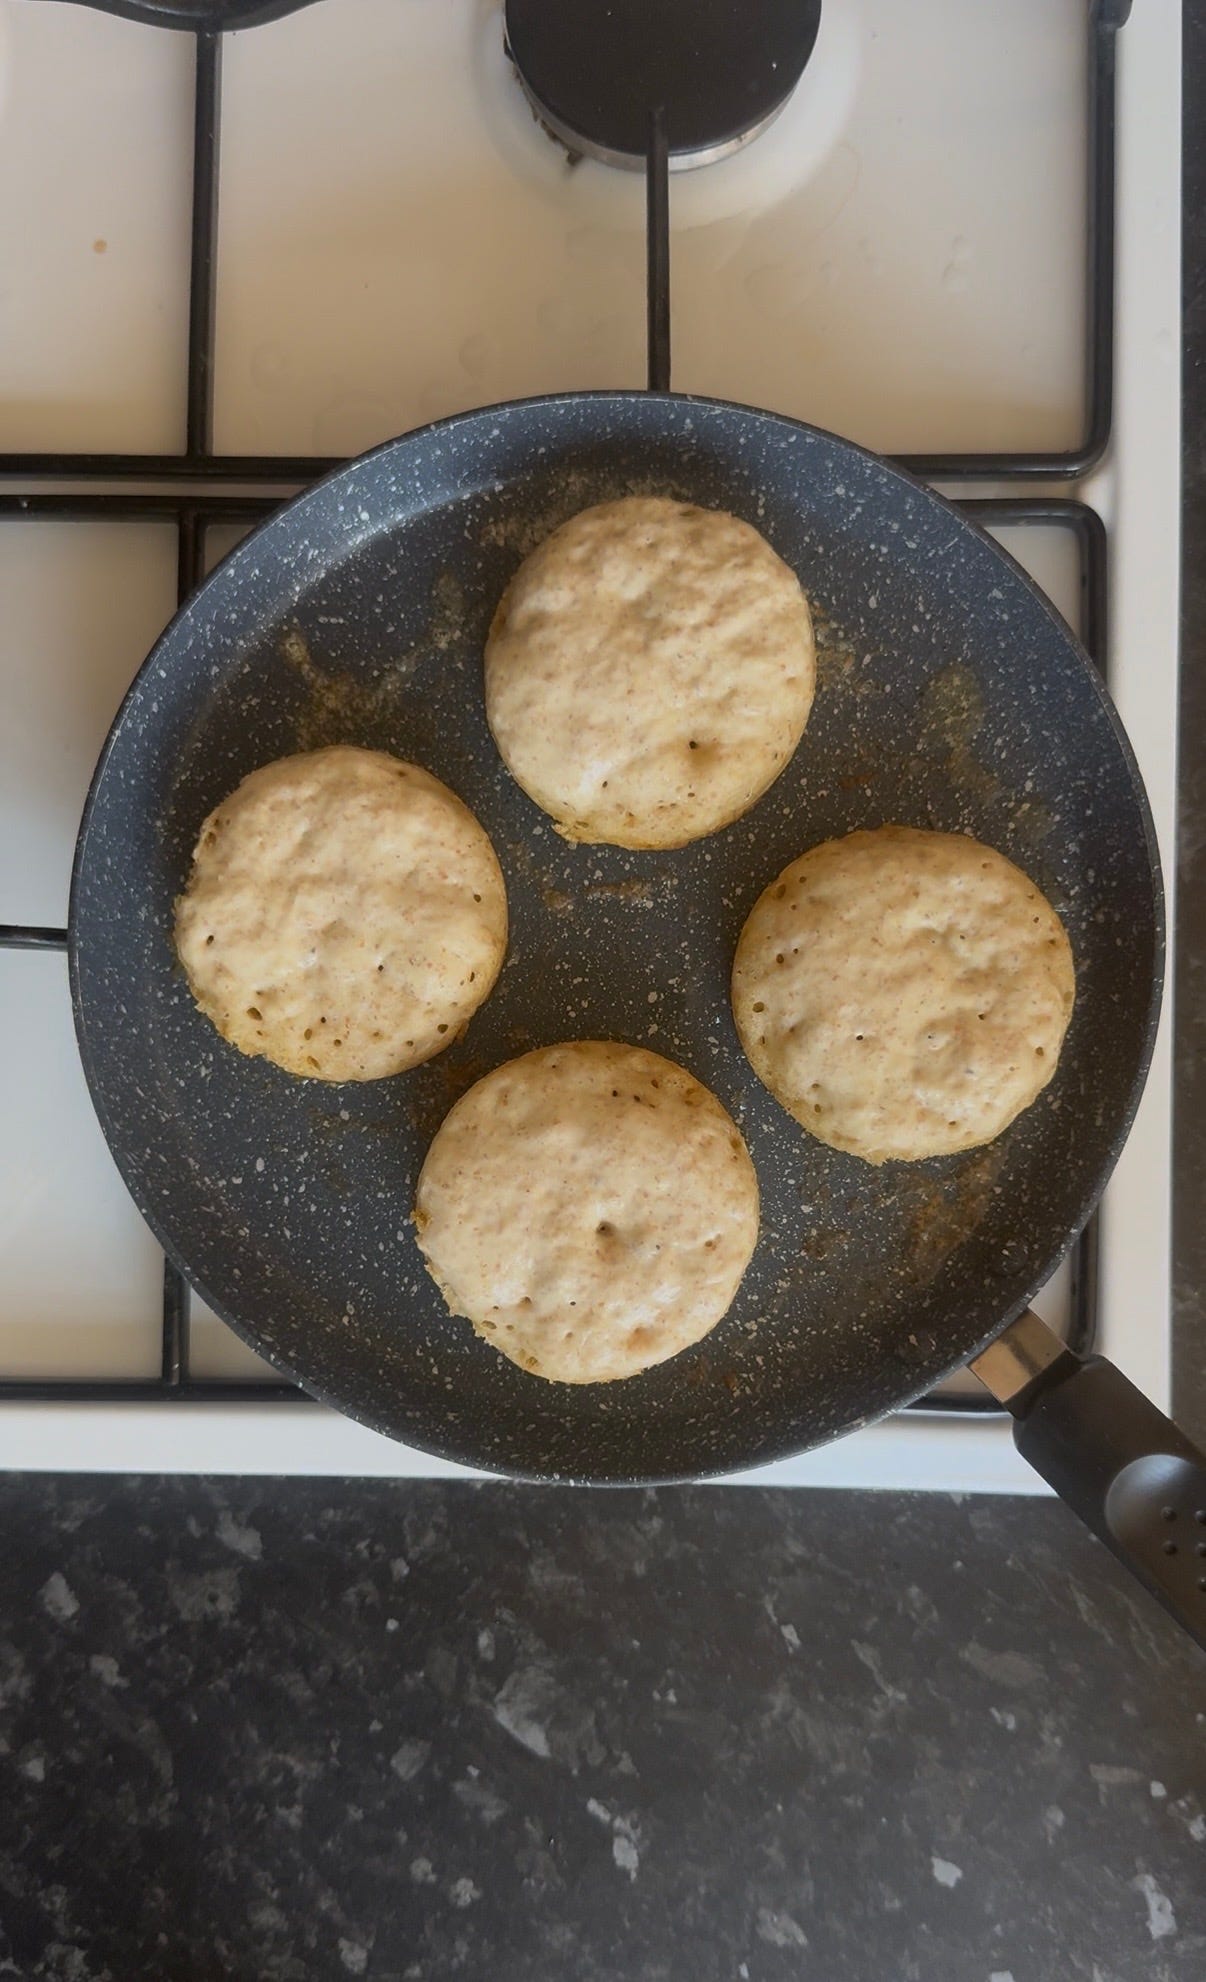
You ideally need crumpet rings for this recipe - I believe mine are 8cm and quite tall, which enables you to get nice high sides on your crumpets. You need to cook them nice and slowly so the bubbles have time to reach the surface before the bottom burns - you never really want the butter to brown, instead the crumpets should cook gently over the course of around 6-8 minutes. I like to add a little steam at a certain point by splashing water in the pan and covering with a large upside-down bowl.
There’s a few other jam recipes further back in my Substack (linked here, here and here). There’s some repetition here on general jam-making guidelines, so skip through if you’re a veteran preserver.
Method
The method for making jam is pretty straightforward, and varies only slightly according to the type of fruit in question. The main goal is to cook the fruit down in sugar until it reaches “setting point” which, according to your source, is around 104-105C. If you don’t have a thermometer (sugar or instant-read), you can use the “wrinkle test” (see below), which I usually use even if I have a thermometer to hand, because it’s fun. A lot of jams contain equal quantities of sugar and fruit, but I usually go for 60%, which is the minimum amount required to preserve the fruit.
When boiling jam, sometimes sugar is added with the fruit at the beginning (as with raspberries), and sometimes you need to cook the fruit down slightly first (like with strawbs). In general, I recommend using a wide shallow pan, as it allows water to evaporate more quickly. It is best to use a wide, shallow pan for any jam or marmalade. You want the water to evaporate quickly and for the jam/marmalade to boil evenly throughout.
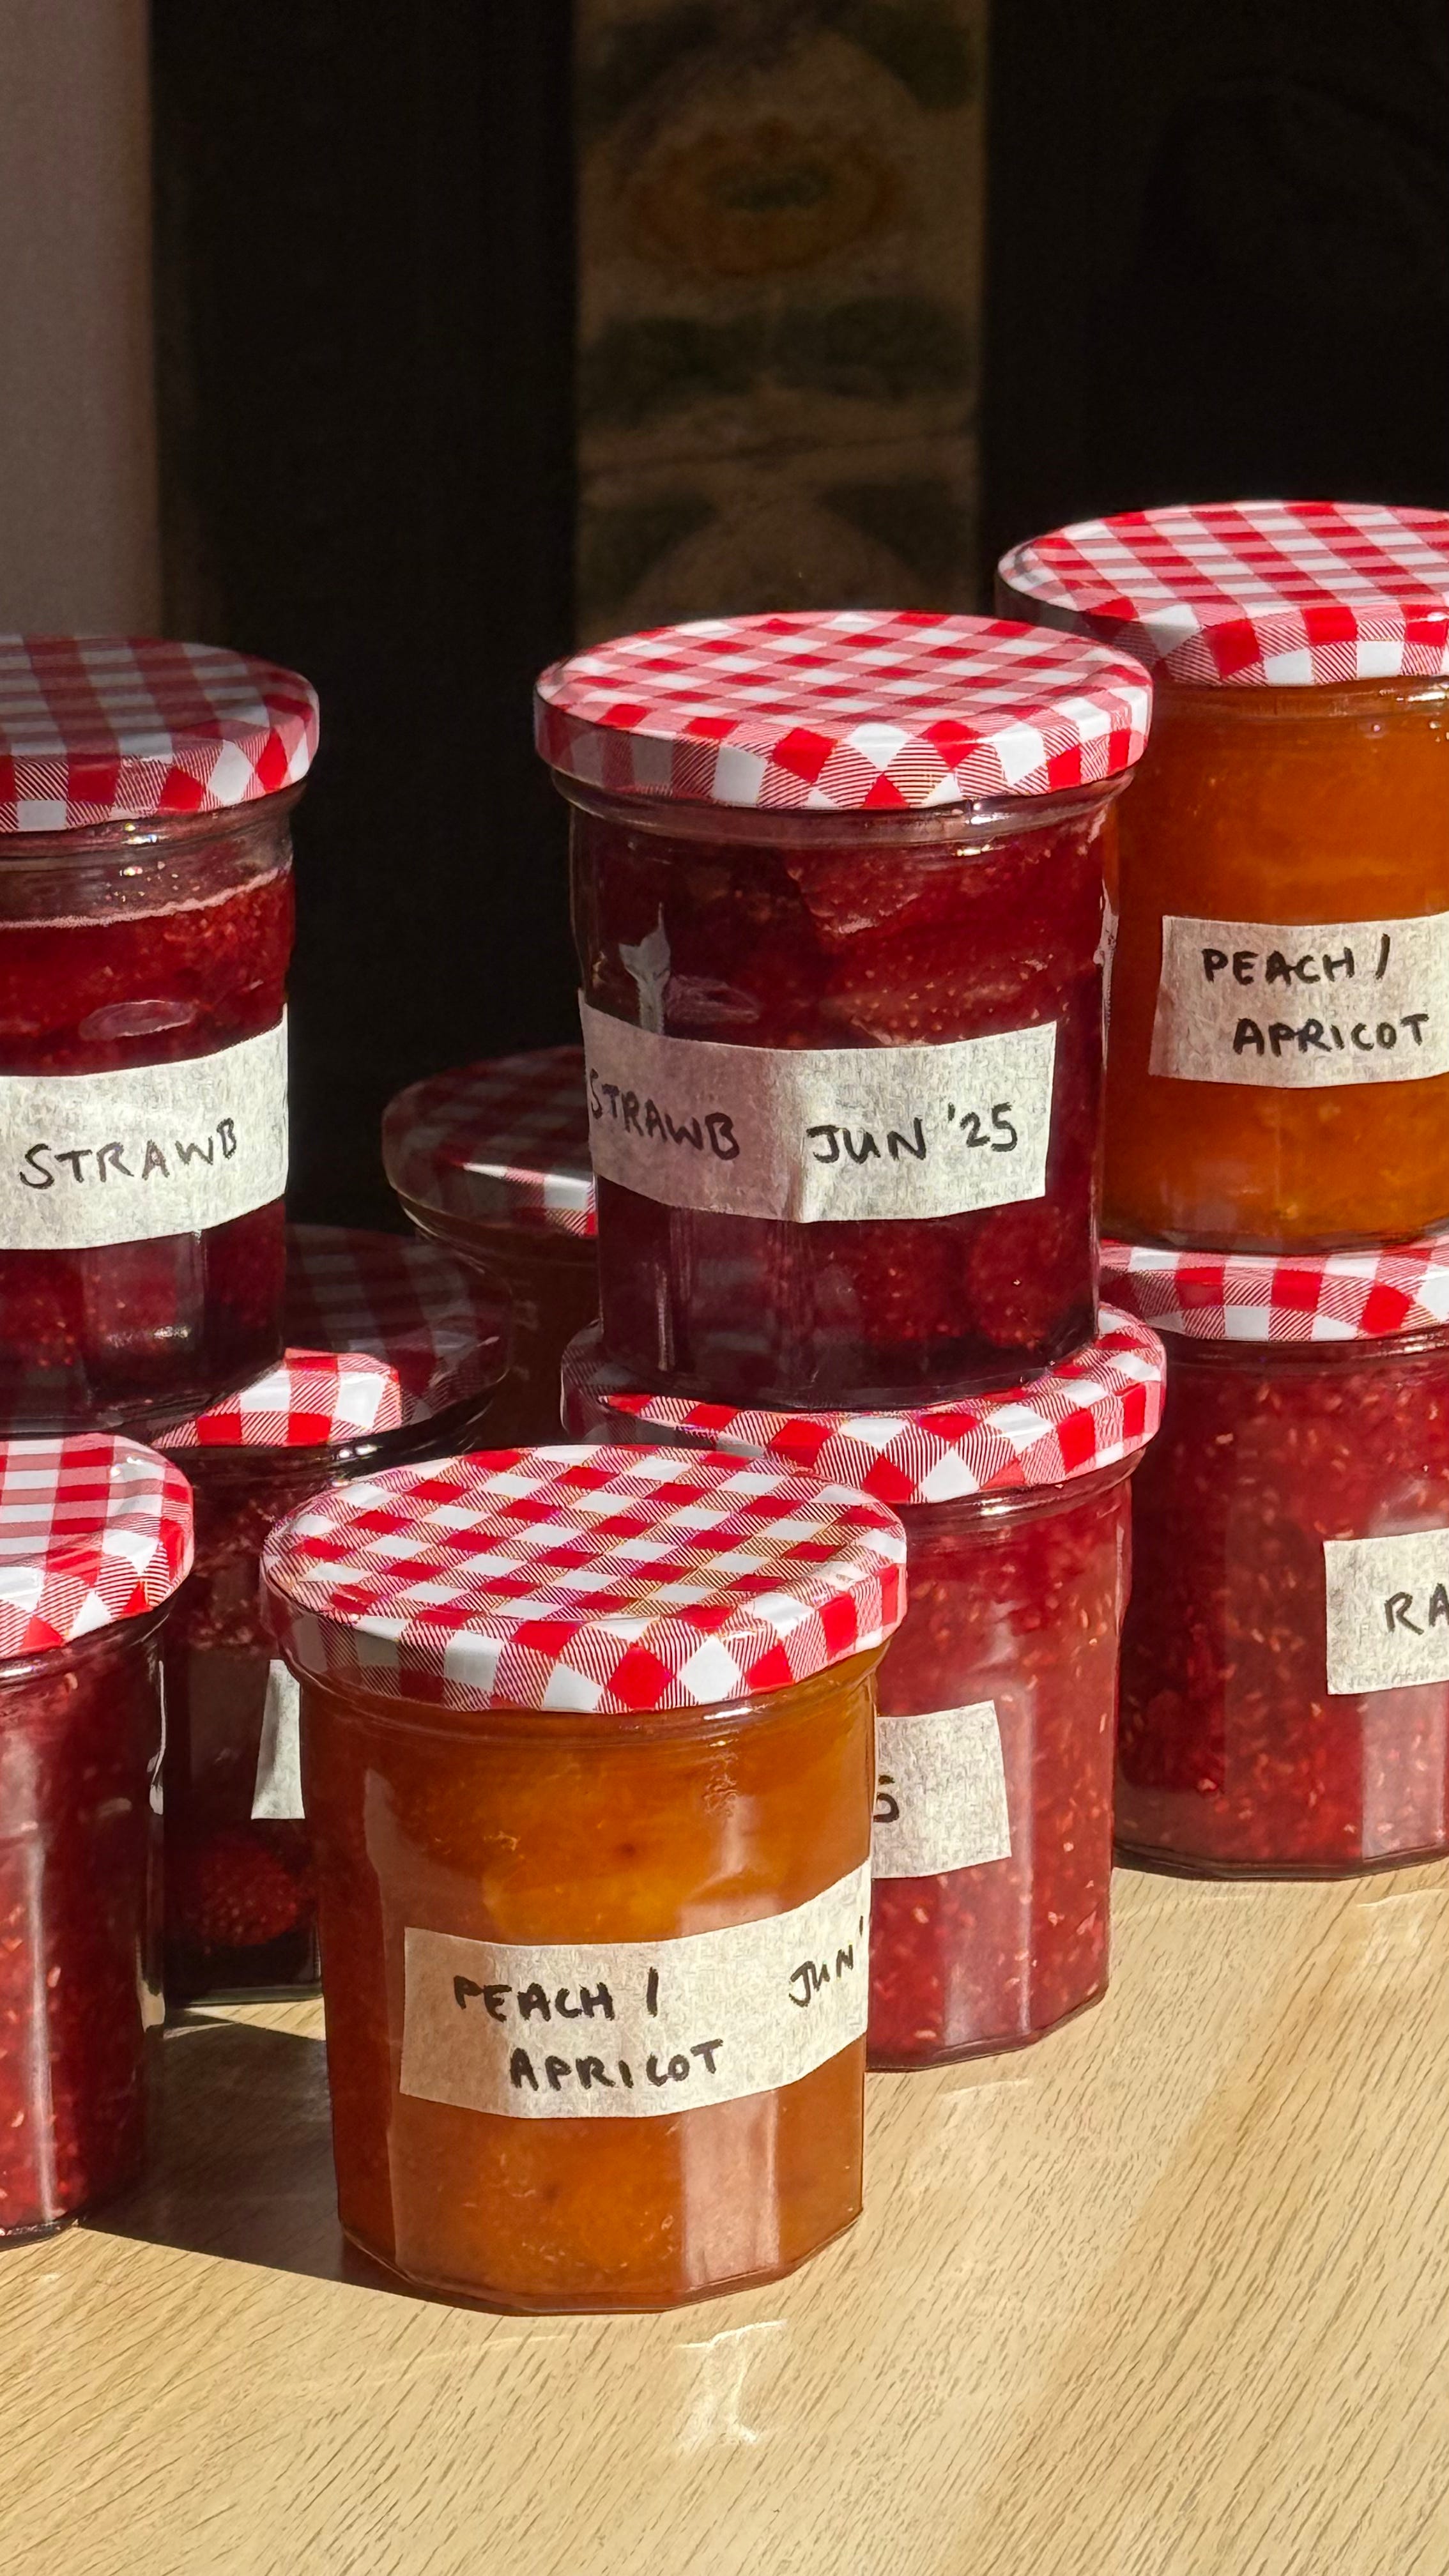
The brightest and most flavourful jam is made quickly, and in small batches. You don’t want to be boiling the jam for hours as it’ll ruin the colour and flavour of the fruit - and similarly, it’s a bad idea (in my personal experience) to make a huge batch, as it’s difficult to cook the fruit at the same rate throughout. When the fruit is cooked down and the sugar has been added, bring it to a brisk boil and keep an eye on it, checking the temperature regularly, either with a thermometer or with the wrinkle test.
Sterilising
If you want your jam to last a few months (or over a year), make sure you sterilise your jars. I like to do this by washing them with hot and soapy water, then rinsing them and placing them on trays in a 160C oven for 20 minutes. Then remove them and pour in the hot jam, being careful not to touch the inside of the jars or lids with your hands. Put the lid on while the jam is hot, which should seal the jar.
Wrinkle test
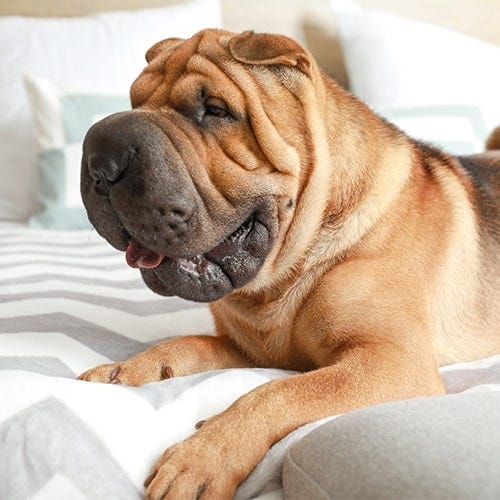
The wrinkle test is the age-old method for testing whether jam or marmalade is set. To do this, put a few saucers or small plates in the freezer before you begin making your jam. When the jam has been boiling gently for about 5-10 minutes, and the bubbles are coming through a little slower (meaning that a lot of liquid has evaporated), take a plate out of the freezer and place a teaspoonful of jam on the plate. Put it back in the freezer for 5 minutes. While you’re waiting, take the jam off the boil: if it has set, you don’t want to overcook it. After 5 minutes, take the plate out and gently push your finger through the centre. The jam should have solidified to the point where the surface wrinkles - I like to envision the brow of a shar pei here, if that’s a helpful reference point for you (see below). If there’s no wrinkle, keep boiling the jam for another 3-4 minutes, then test again. Repeat until you’ve achieved the wrinkle.
I’ve made crumpets a few times in the past, but I’ve really honed in on a few details for this recipe. They are leavened with both yeast (preferably fresh) and baking soda, plus I’ve added buttermilk and a little wholemeal flour, both for flavour and for that magical chemical reaction between bicarb (alkaline) and buttermilk (acidic).
recipe: crumpets